You have a formula ready — maybe a facial cleanser, a sunscreen, or a hand cream. You know it needs to go in a tube. But which tube?
The cap leaks in the customer’s bag. The nozzle clogs after a few uses. The printing peels off within weeks. The tube is too stiff to squeeze out the last third of the product. These are not hypothetical problems — they are the exact issues that brands run into when they choose a cosmetic tube based on how it looks in a catalog photo, instead of how it actually performs with their specific product.
This guide is written to prevent those mistakes. We will walk you through the four decisions that matter most — cap style, tube shape, capacity, and material — so you can brief your manufacturer clearly and move to sampling without the guesswork.
Start Here: What Are You Filling?
Before choosing a tube, start with what goes inside it. Your formula’s texture, viscosity, and usage scenario determine which cap, shape, and material will work — and which ones will cause problems.
Thin, liquid-like formulas (facial cleansers, toners in tube format, lightweight serums) need a cap that prevents accidental leaking. A screw cap or pump head works better than a flip cap for these — because a flip cap on a thin formula can drip when the tube is stored upside down in a shower.
Medium-viscosity creams (hand cream, moisturizer, sunscreen, BB cream) are the most versatile. They work well with nearly every cap type. Your choice here comes down to the consumer experience you want to create — a premium screw cap for handbag-friendly hand cream, or a flip cap for quick daily use.
Thick, dense formulas (rich body butters, thick hair masks, clay-based masks) need wider tube openings and caps that do not restrict flow. A twist-top rotary cap or a large-diameter flip cap works best. Do not put a narrow nozzle tip on a thick formula — the consumer will struggle to squeeze it out, and the tube will feel cheap regardless of how much you spent on the design.
Targeted treatment products (eye cream, lip oil, spot treatment, anti-aging serum) benefit from precision applicators. A nozzle tip, rollerball, or slanted tip gives the consumer control over exactly where the product goes, which matters for small-area application where waste is visible.
Cap Styles: The Decision That Affects Your Customer Every Single Day
The cap is not a minor detail. It is the part of your packaging that your customer touches, opens, and closes dozens of times over the life of the product. A bad cap experience — one that leaks, snaps off, gets stuck, or dispenses too much — will make the customer remember your packaging for the wrong reasons.
Here is what each cap type does well, and where it falls short:
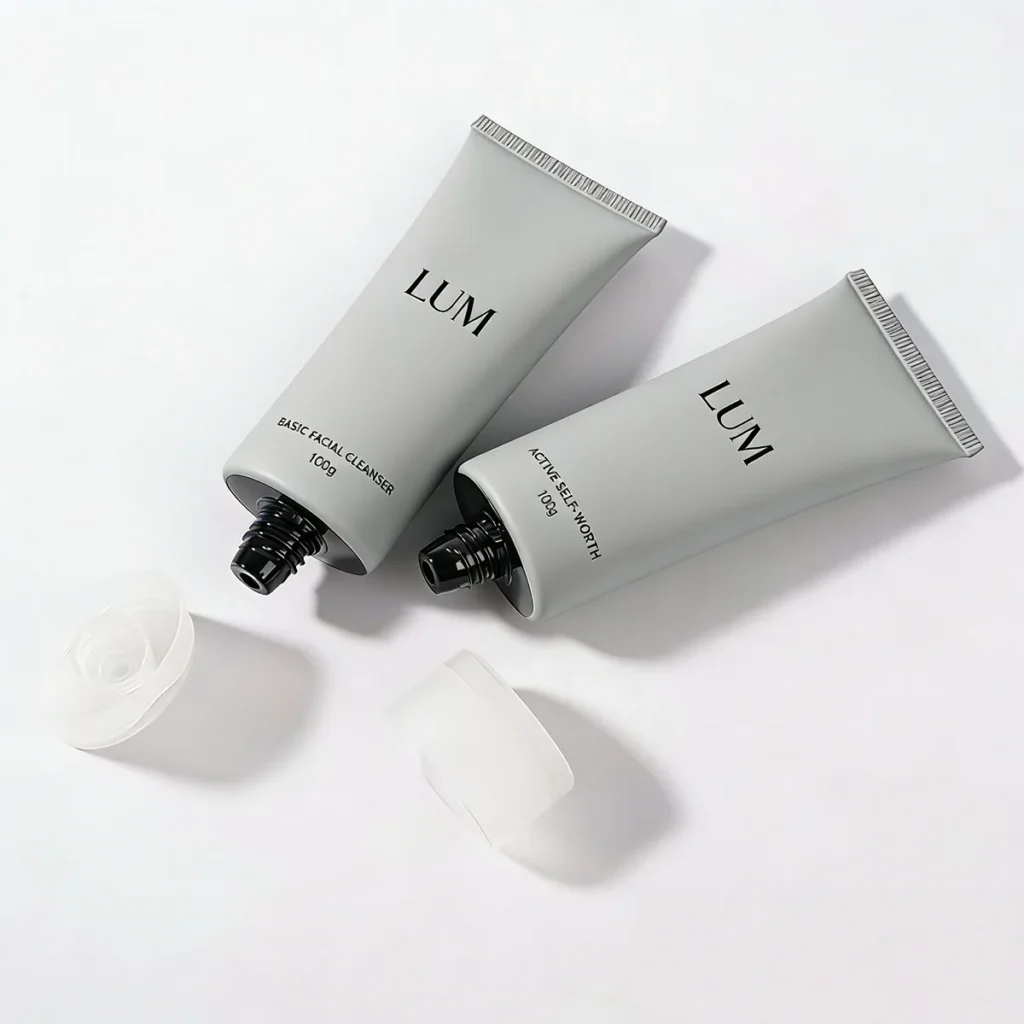
Flip Cap — The most popular choice for daily-use skincare. The consumer opens it with one hand (often with a thumb), squeezes, and snaps it shut. Fast, convenient, and intuitive. Best for facial cleansers, body washes, and medium-viscosity creams used in the shower or bathroom. The snap-shut mechanism also keeps water out, which matters for products stored in wet environments.
Screw Cap — Twists on and off completely. Provides a tighter seal than a flip cap, making it the best option for products that travel — hand cream in a handbag, sunscreen in a beach bag, samples in a shipping box. The tradeoff is speed: it takes two hands to open, which is less convenient for daily routines but more secure against leaking during transport.
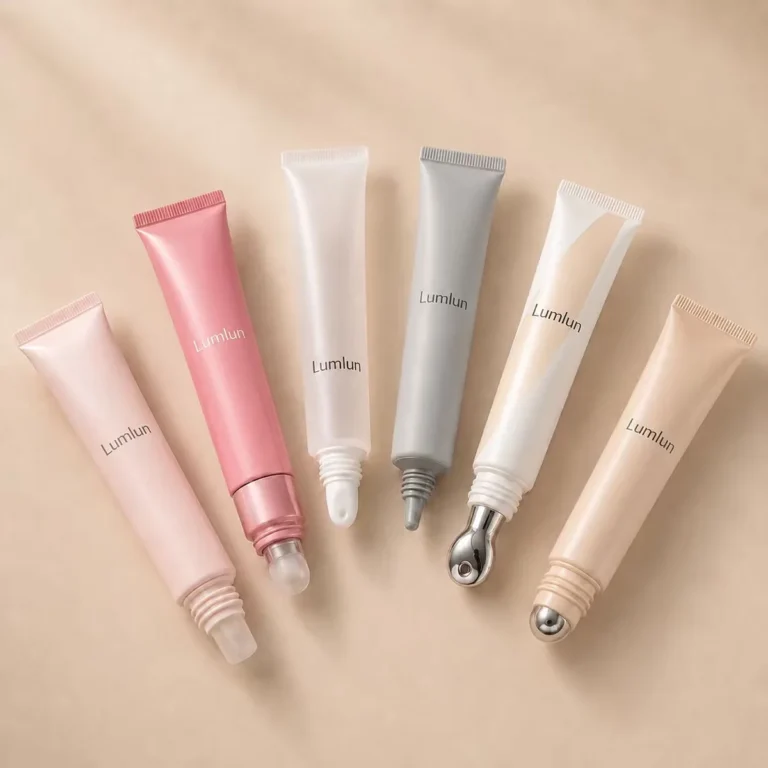
Nozzle Tip — A narrow pointed opening that allows precise, targeted dispensing. Designed for products applied to small areas — eye cream along the orbital bone, spot treatment on a blemish, concealer under the eyes. Paired with a screw cap for protection, the nozzle tip turns a standard tube into a precision tool.
Rollerball — A metal or plastic ball at the tip that rolls product directly onto the skin. Provides a cooling, massage-like sensation during application. Popular for eye serums, de-puffing treatments, and under-eye products where the massage action adds perceived value beyond the formula itself.
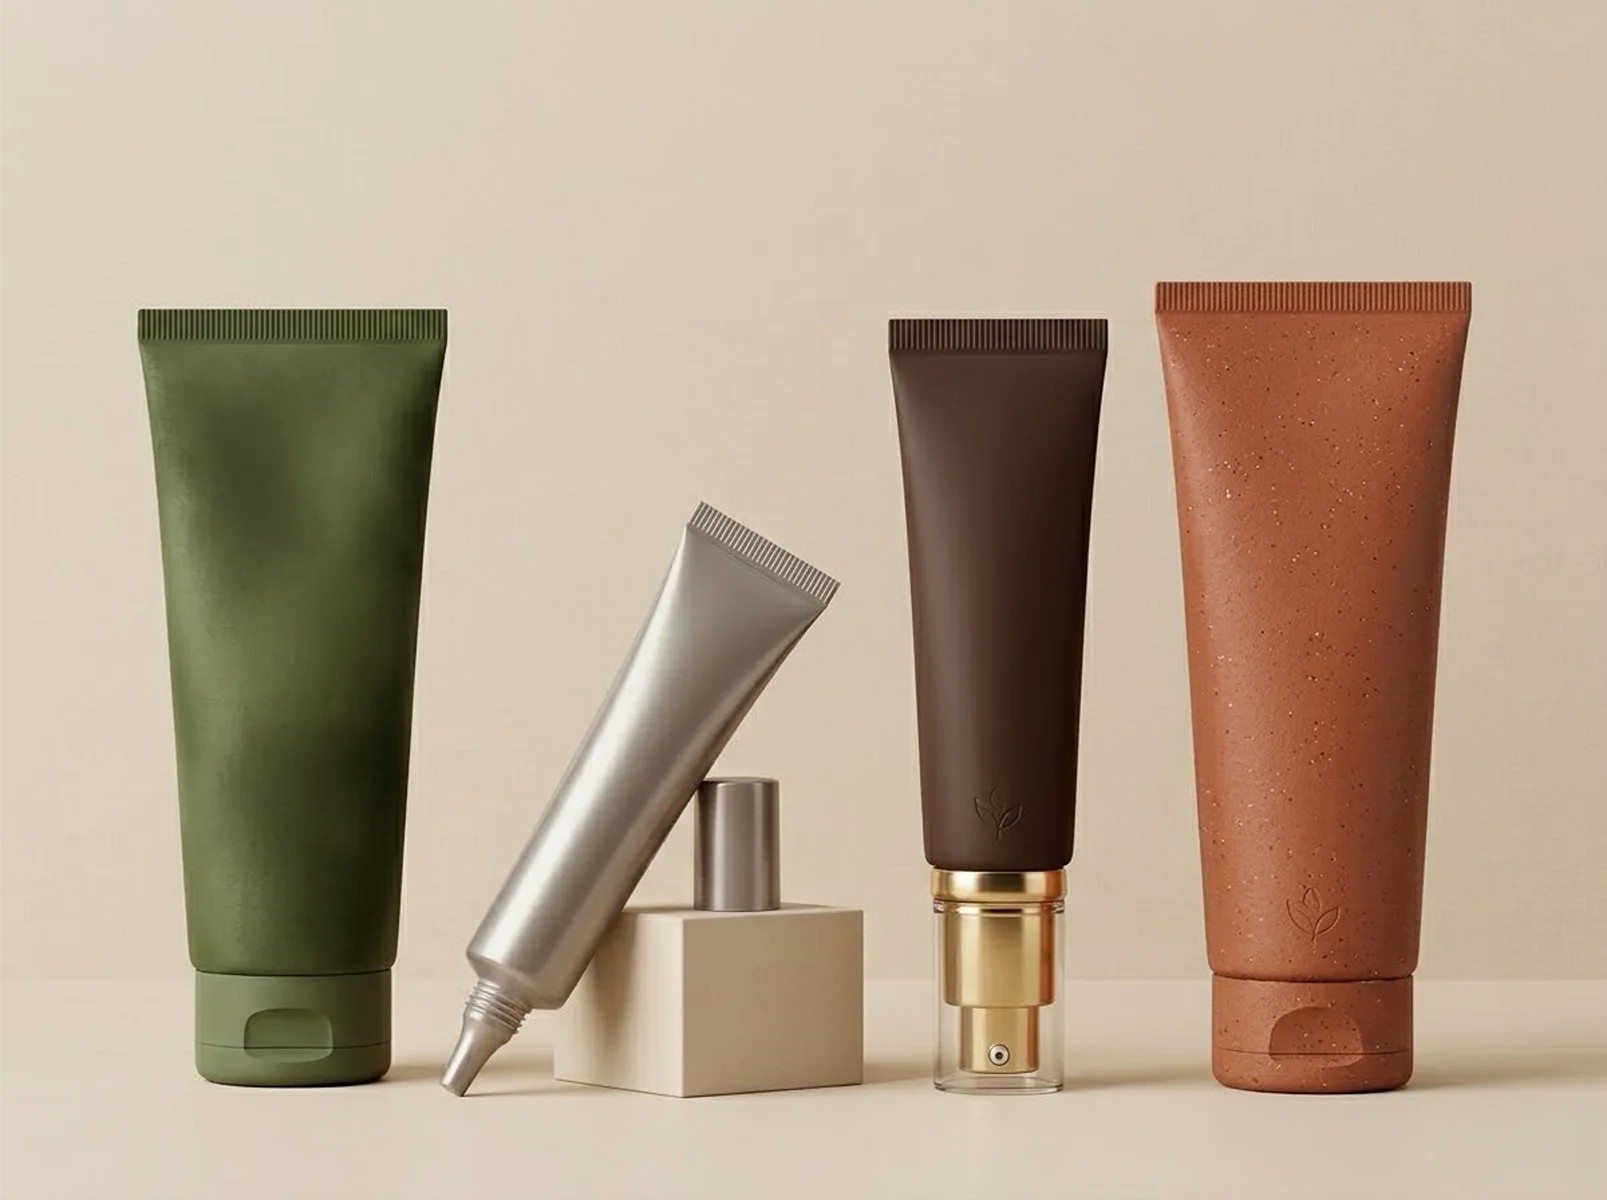
Pump Head — A press-down pump mechanism attached to the tube opening. Dispenses a controlled, consistent amount with each press. Best for larger-volume tubes (80ml–300ml) containing body lotion, hair treatment, or liquid foundation where dosage control matters but the flip cap would dispense too much at once.
Slanted Tip — A soft, angled tip designed for direct lip application. Replaces the need for a separate brush or applicator. Used for lip balm, lip oil, and lip treatment products. The 16mm diameter is standard for this format.
Twist-Top / Rotary Cap — A cap that twists to reveal a large opening. Best for thick formulas that need a wide exit path — body butter, hair masks, and dense creams. Also used on larger tubes (80ml–125ml) where consumers need to dispense a generous amount quickly.
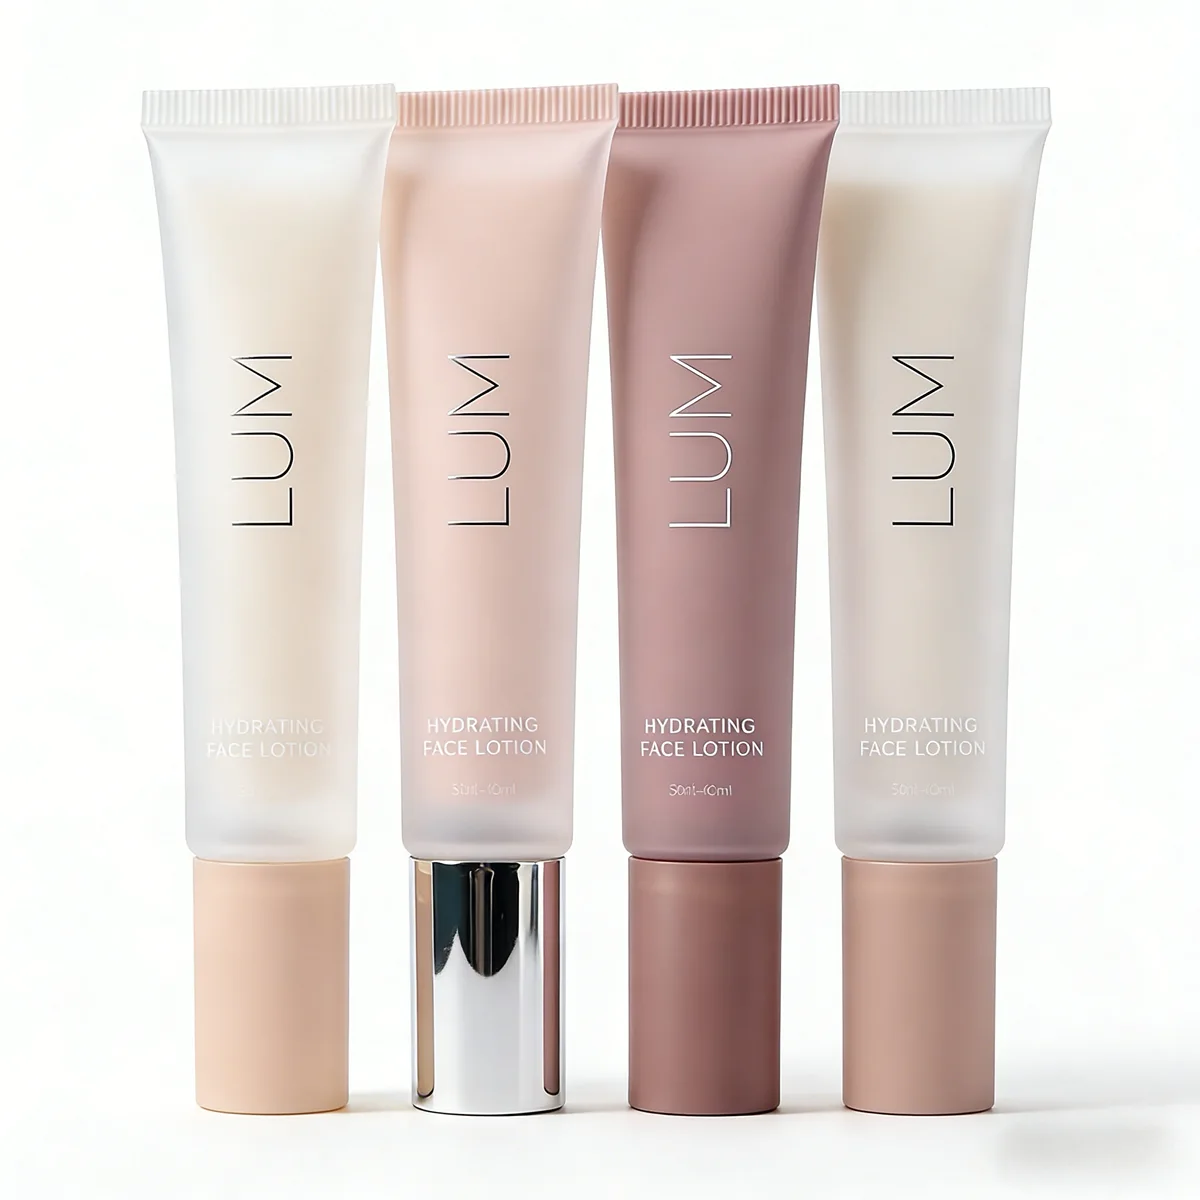
Quick Decision Guide: Which Cap Fits Your Product?
| Your Product | Recommended Cap | Why This Works |
|---|---|---|
| Facial cleanser, body wash | Flip cap | One-hand open, water-resistant, fast dispensing |
| Hand cream, sunscreen | Screw cap | Secure seal for travel, leak-proof in bags |
| Eye cream, concealer | Nozzle tip | Precise application to small areas, less waste |
| Eye serum, de-puffing gel | Rollerball | Cooling massage effect, no finger contact |
| Body lotion, hair treatment | Pump head | Controlled dosage for larger-volume tubes |
| Lip balm, lip oil | Slanted tip | Smooth direct application, replaces applicator brush |
| Body cream, shower products | Twist-top / Rotary cap | Large opening for thick formulas, easy squeeze |
Tube Shape: Round vs. Oval — And Why It Matters More Than You Think
Round tubes are the standard. They are the most cost-effective to produce, work with all cap types, and stand upright on shelves when fitted with a flat-bottom screw cap. If you have no strong reason to go oval, round is the safe, reliable default.
Oval tubes have a wider, flatter front surface. This gives you more printable area for branding, ingredient lists, and design elements. Oval tubes feel different in the hand — they sit flatter in a bag or pocket, and some consumers find them easier to squeeze because of the wider profile. They are popular for facial cleansers, BB creams, and products where shelf presence matters.
Practical tip: If you are designing a skincare set (cleanser + moisturizer + sunscreen), using the same tube shape across all products creates visual consistency on the shelf. Mix-and-matching round and oval within the same product line looks uncoordinated.
Sizes: 5ml to 300ml — Matching Capacity to Product Type
Cosmetic tubes are available in a wide range, but certain sizes have become industry standards for specific product types:
5ml – 15ml: Sample sizes, travel minis, lip products, and eye treatments. These small tubes are often used for product launches, subscription box samples, or travel retail. The small format also works well for high-value concentrated treatments where a little product goes a long way.
30ml – 50ml: Facial serums in tube format, hand creams, sunscreen for the face, BB cream, and primer. This is the most versatile range — small enough for a handbag, large enough to last 4–6 weeks of daily use.
80ml – 100ml: The standard for facial cleansers, body sunscreen, and treatment creams. This is the size most consumers expect when they buy a full-size skincare product in a tube.
120ml – 200ml: Body lotion, hair treatments, shower products, and family-size hand cream. Tubes in this range often use pump heads or twist-top caps for easier dispensing of larger volumes.
250ml – 300ml: Professional or salon-size products, large-format body care, and value packs. Less common in retail, but growing in the direct-to-consumer subscription model.
We support custom capacities from 5ml to 300ml. If you have a specific volume requirement, we can recommend the closest tube diameter and length from our existing range.
Material: PE Tubes, 5-Layer EVOH Tubes, and Sugarcane Bio-PE
Standard PE (Polyethylene) is the most widely used material for cosmetic tubes worldwide. It is soft, squeezable, chemically stable, and compatible with virtually every skincare formula — water-based, oil-based, gel, cream, and emulsion. PE tubes are available as 2-layer construction, which is the standard for most skincare applications.
5-Layer EVOH tubes add a barrier layer of EVOH (ethylene vinyl alcohol) between the PE layers. This extra layer provides stronger protection against oxygen and moisture transmission. The practical difference: if your formula contains active ingredients that are sensitive to air exposure over time — such as certain vitamins or botanical extracts — a 5-layer tube can help maintain stability throughout the product’s shelf life. For standard creams and cleansers, 2-layer PE is sufficient. All our tubes can be manufactured in either 2-layer or 5-layer construction.
Sugarcane bio-based PE is PE derived from sugarcane ethanol instead of petroleum. It looks, feels, squeezes, and prints exactly the same as conventional PE — consumers cannot tell the difference. The advantage is environmental: sugarcane PE is a bio-based material that reduces reliance on fossil fuels, aligning with the growing demand for plant-based packaging alternatives in the global beauty industry. We offer sugarcane PE as an option for brands targeting eco-conscious consumers or markets where sustainability claims provide competitive advantage. Available for select tube formats including our flip cap and pump tube lines.
PCR (Post-Consumer Recycled) PE is also available for brands that prefer recycled content over bio-based material. We recommend 30% PCR as the optimal balance between sustainability and visual quality.
Printing and Surface Decoration
Cosmetic tubes offer a large, curved canvas for your brand. The decoration you choose directly affects how your product is perceived on the shelf and in the consumer’s hand.
Silk Screen Printing — The standard method for most cosmetic tubes. Produces crisp, durable text and logos. Supports multiple colors. Works well on both matte and glossy tube surfaces.
Hot Stamping — Metallic foil application (gold, silver, rose gold) for premium accents. Best for logos and brand names that need to catch light and communicate luxury.
Offset Printing — Photo-quality, full-color printing that wraps around the tube surface. Best for designs with gradients, photographic images, or complex multi-color artwork that silk screening cannot achieve in a single pass.
Labeling — A pre-printed label adhered to the tube surface. Useful for brands that need to change designs frequently without re-ordering tubes, or for small-batch runs where direct printing is not cost-effective.
Surface finishes: Matte, glossy, soft-touch, frosted, and metallic effects are all available. Matte soft-touch finishes are currently the most popular choice for premium skincare brands — they feel velvety in the hand and photograph well for e-commerce product images.
All decoration options work on PE, 5-layer EVOH, sugarcane PE, and PCR material equally.
Eco-Friendly Options: Sugarcane PE and PCR
Sustainability is not a separate product line — it is an upgrade path available across our entire cosmetic tube collection. Brands selling into the EU market should also be aware of the evolving PPWR packaging regulation that is tightening recyclability requirements for cosmetic packaging.
Sugarcane PE replaces petroleum-derived PE with bio-based PE produced from sugarcane ethanol. The tube looks and performs identically to standard PE. No change in printing, cap compatibility, or shelf life. The difference is in the raw material origin — and the sustainability story you can tell on your packaging.
PCR PE incorporates post-consumer recycled plastic into the tube material. We recommend 30% PCR for the best balance of sustainability and visual quality. Higher ratios are available upon request.
What to put on your label: Specific claims work better than vague ones. “Made with sugarcane-based PE” or “Contains 30% post-consumer recycled material” are stronger than “eco-friendly” because they are verifiable and concrete.
For more details on our customization and sustainability options, visit our dedicated page.
From Inquiry to Finished Product
The process for ordering custom cosmetic tubes follows the same timeline as our other products:
Step 1 — Tell us what you need (Day 1). Send us your product details: what formula you are filling, desired capacity, preferred cap style, and any reference images. Our team responds within 24 hours with a recommendation.
Step 2 — Sample confirmation (Day 12–15). We produce physical samples with your specified color, printing, and cap. You evaluate fit, squeeze feel, cap closure, and print quality.
Step 3 — Production (Day 30–40 after approval). Standard MOQ is 10,000 units per SKU. Quality checks run at every stage.
Step 4 — Quality inspection and shipping. Final inspection, packing, and export logistics to your destination.
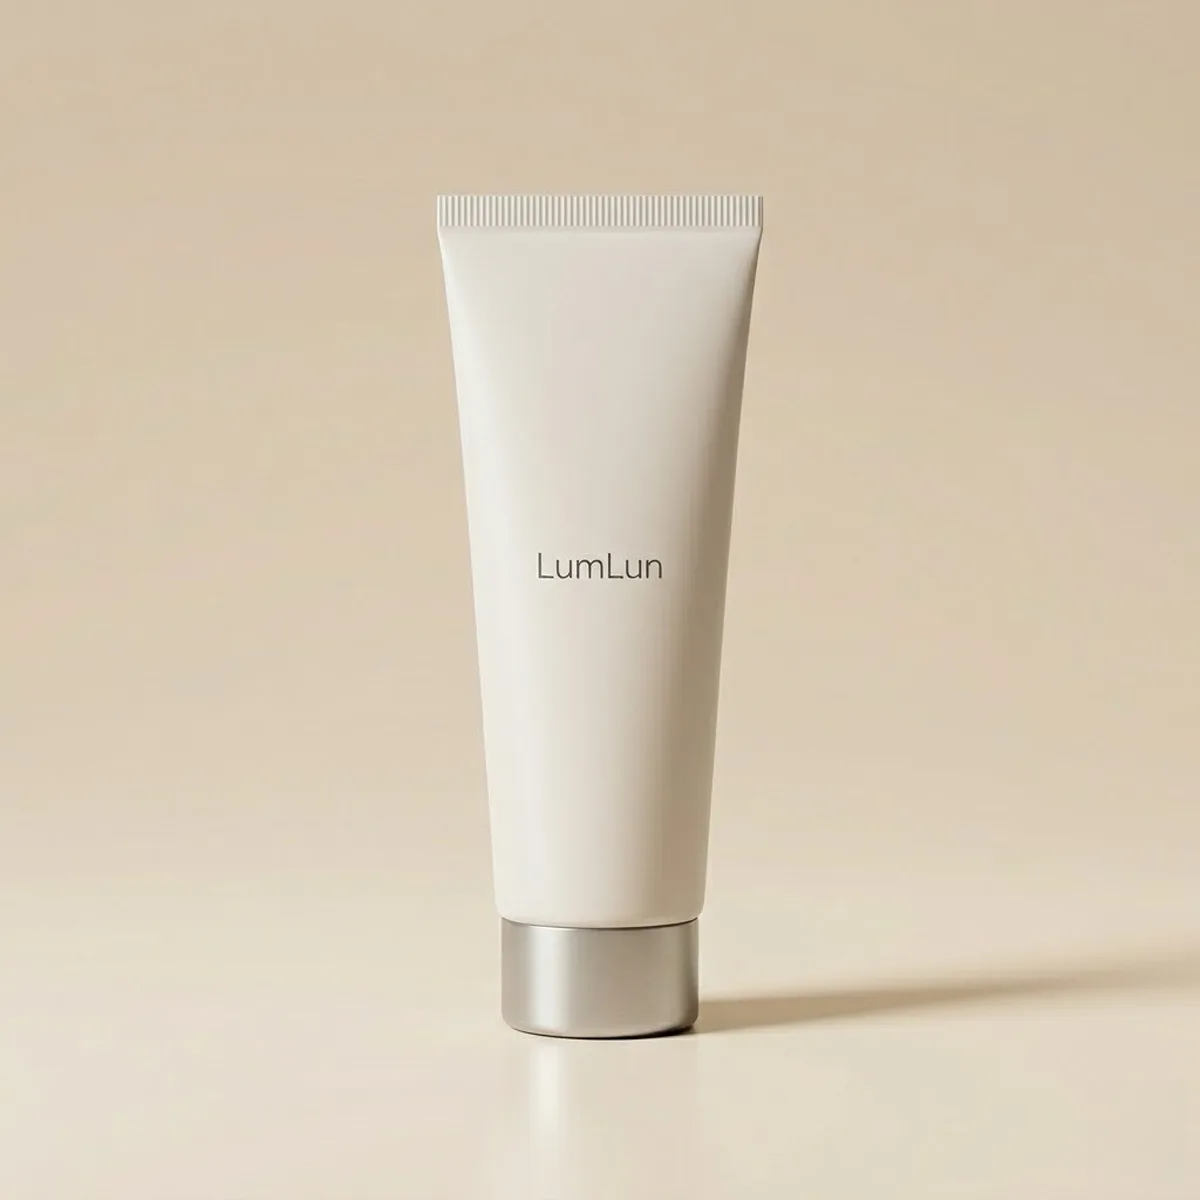
Ready to choose the right tube for your product? Tell us what you are filling and we will recommend the best tube, cap, and material combination.
→ Contact Us | → Chat on WhatsApp
Frequently Asked Questions
What is the minimum order quantity for custom cosmetic tubes?
Our standard MOQ is 10,000 units per SKU. This applies to custom color, printing, and cap style orders.
What sizes are available for cosmetic tubes?
We offer custom cosmetic tubes from 5ml to 300ml. The most popular sizes are 30ml, 50ml, 80ml, and 100ml for facial and body care products.
What is the difference between a 2-layer tube and a 5-layer EVOH tube?
A standard 2-layer PE tube works well for most skincare formulas. A 5-layer tube adds an EVOH barrier layer that provides stronger protection against oxygen and moisture, making it a better choice for formulas with sensitive active ingredients that need extended shelf stability.
How long does it take to receive samples?
Sample production takes 12 to 15 business days, including color matching, printing, and assembly. Mass production takes 30 to 40 days after sample approval.
Do you offer eco-friendly cosmetic tube options?
Yes. We offer sugarcane-based PE tubes as a bio-based alternative to conventional petroleum-based PE. PCR material is also available. Both options support the same printing and decoration as standard tubes.
Can I use the same tube for different products in my skincare line?
Yes. The same tube body can be paired with different caps for different products — for example, a flip cap version for your cleanser and a nozzle tip version for your eye cream — while keeping the same tube diameter, color, and branding consistent across the line.