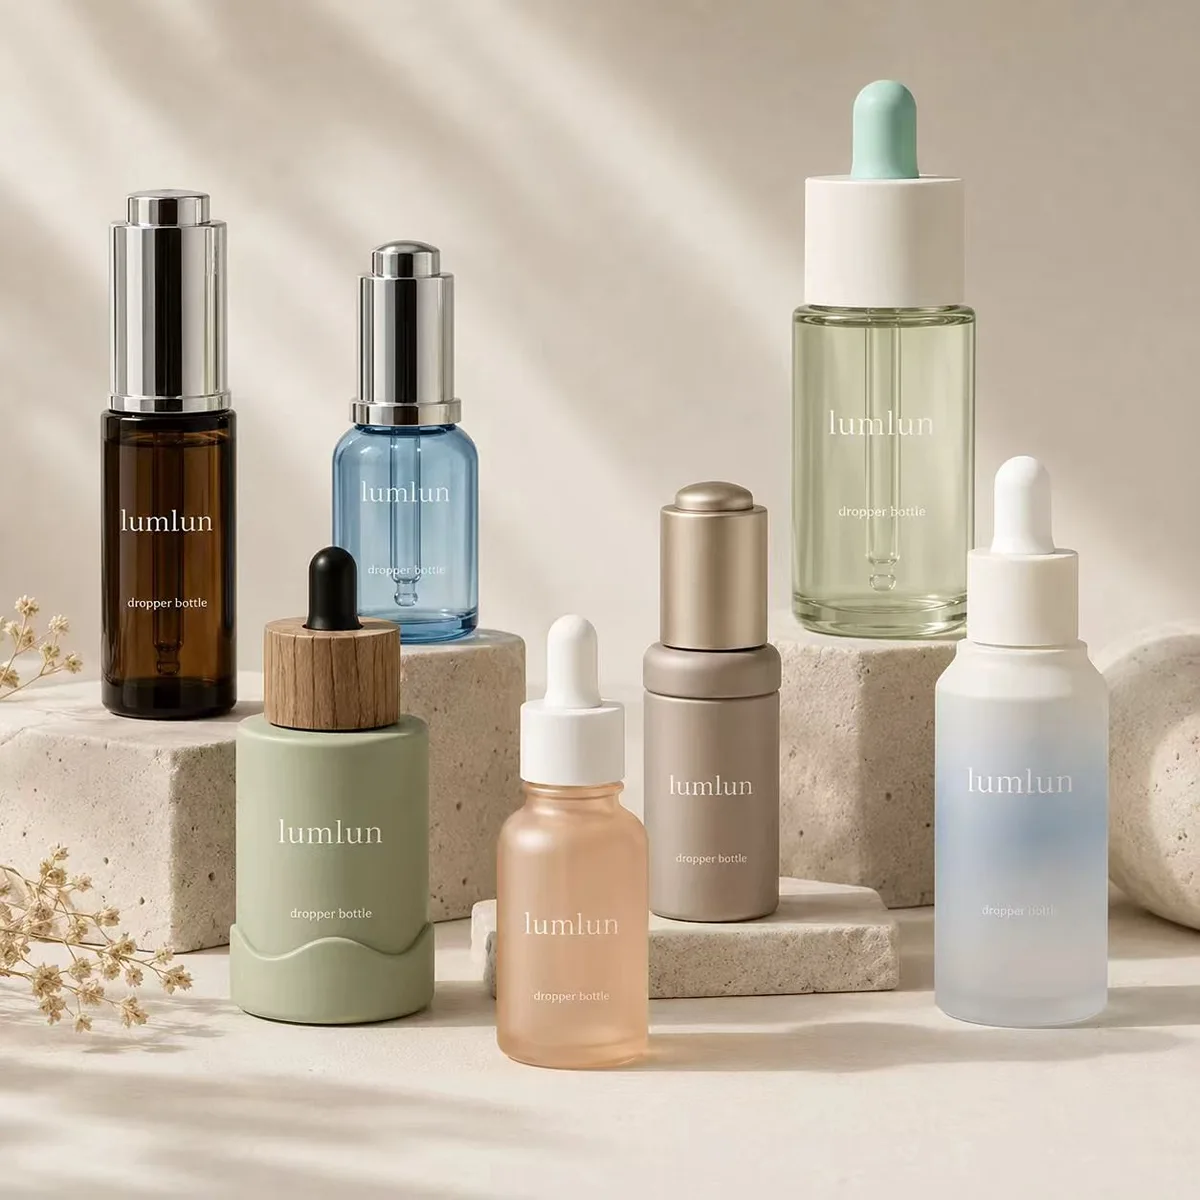
Key Takeaways
- Customizing a serum bottle means choosing shape, color, finish, and dispenser together so they tell one coherent brand story — not picking options at random.
- Shape sets your bottle apart first: round reads classic, square reads modern, and a custom shape stands out most but needs its own mold.
- Finish is where your brand becomes visible — silk screen printing, hot stamping, frosting, and electroplating each signal a different price tier.
- Combining elements deliberately is what creates real differentiation, far more than any single custom feature on its own.
- Custom shapes carry real costs: a new mold, a minimum order quantity, and longer lead time — worth planning for before you commit.
Last Updated: June 2026
On a crowded shelf or a busy product page, most serum bottles look the same — a clear glass dropper that could belong to any brand. A custom serum bottle is how you break out of that sameness. Customizing your serum bottle is how you change that: the shape, color, finish, and dispenser you choose are what make a customer notice your product, feel its quality, and remember your brand. This guide walks through each element you can customize, what it signals, how to combine them into one coherent look, and the real costs to plan for — so the bottle works as hard for your brand as the formula inside it.
Customization Is How Your Serum Bottle Stops Looking Like Everyone Else’s
Customizing a serum bottle is what turns a generic container into a brand asset — the shape, color, finish, and dispenser are the elements that make your product recognizable and signal its quality before a customer reads a word. This is the reason to treat customization as a branding decision, not a cosmetic afterthought.
Think about where your serum is judged. On a retail shelf it sits beside competitors; online it’s a thumbnail among dozens. In both cases, a standard off-the-shelf bottle blends in, while a thoughtfully customized one stands out and looks more premium. Customization is also how a brand builds consistency across a product line. LumLun, a B2B OEM cosmetic packaging manufacturer based in Zhangjiagang, China, works with skincare brands across 27 countries to customize serum bottles to their positioning. Done well, this consistency means a customer recognizes your serum, your essence, and your oil as belonging together. The elements you can change — shape, color, finish, dispenser — each carry a signal, and the sections below break down what each one does so you can choose with intent.
The goal isn’t to customize everything; it’s to customize the right things for your brand. A focused, coherent set of choices beats a pile of features that don’t add up to a clear identity.
Shape — The First Thing That Sets Your Serum Bottle Apart
Bottle shape is the first thing that distinguishes a custom serum bottle: round reads classic, square reads modern, and distinctive shapes like spherical, tapered cone, or curved-teat bottles stand out most —
these create an immediate visual break from the standard cylindrical look. Shape registers before color or finish, so it’s where differentiation starts.
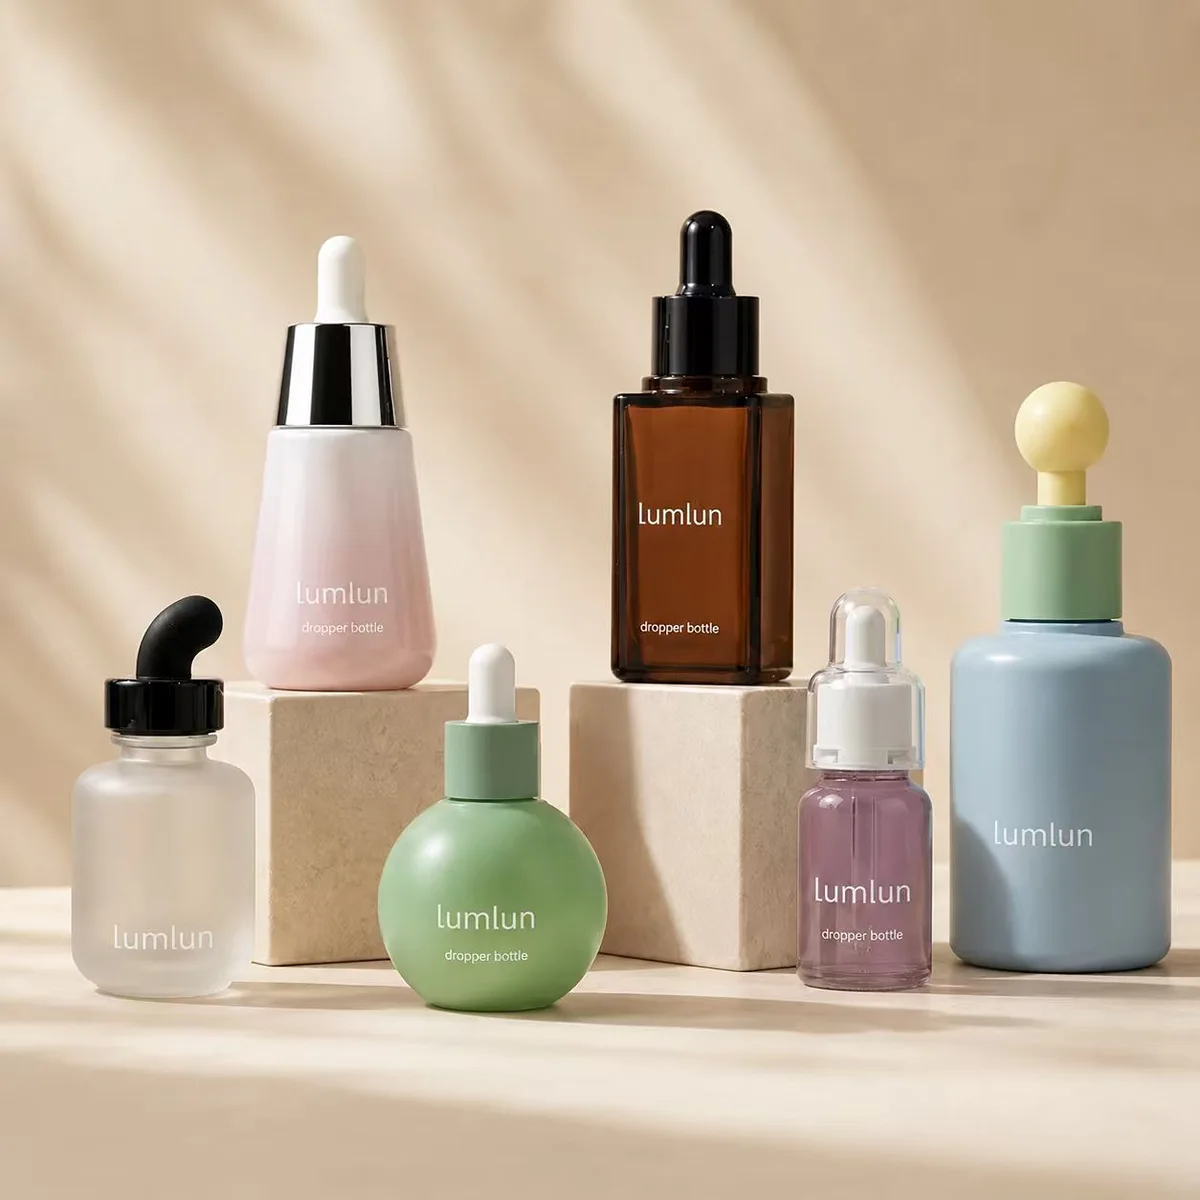
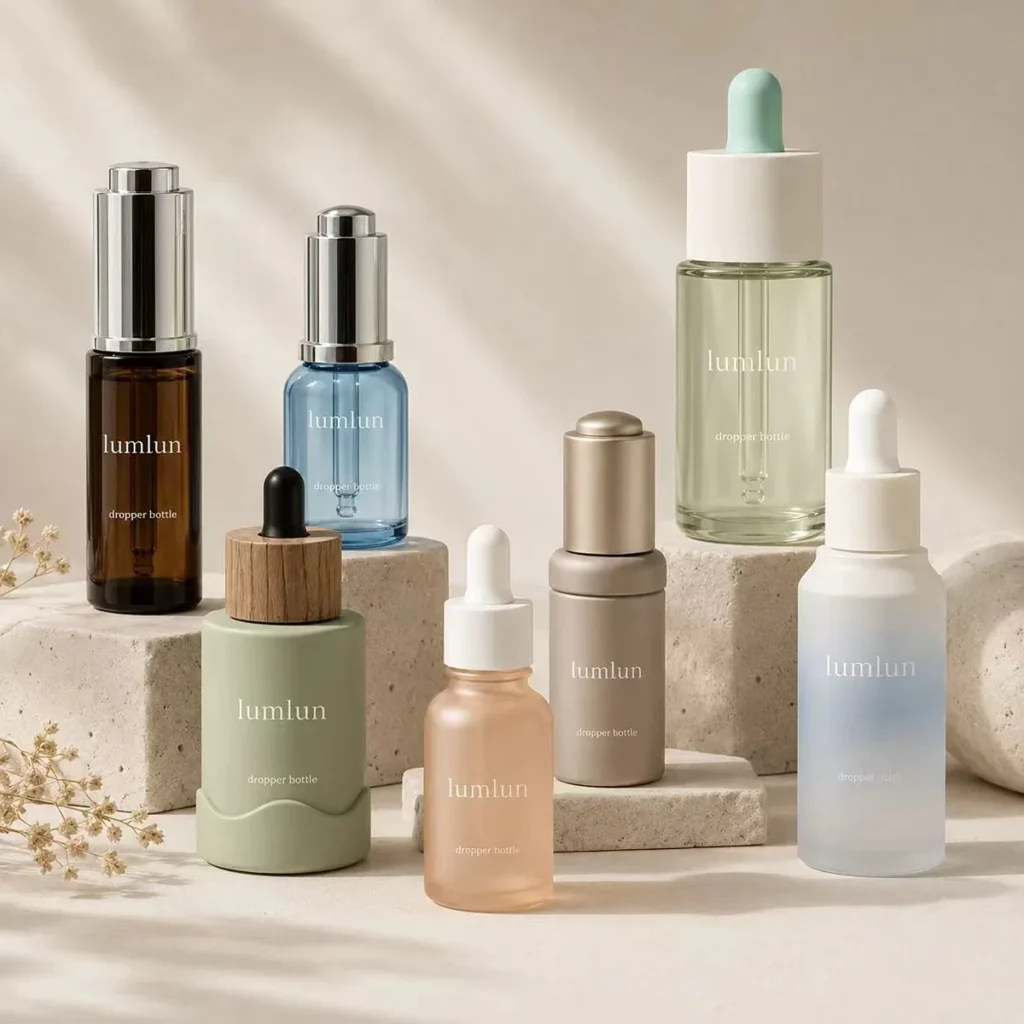
The most common serum bottle shape is round — a classic, sleek profile compatible with droppers and pumps. Square and rectangular bottles read as more modern and structured, and their flat panels give labels and printing more room — packaging psychology research notes that round shapes read as soft and friendly while square or angular shapes signal strength and stability. Beyond these standards, distinctive shapes are where a serum bottle stops looking like everyone else’s: a spherical, round-ball body creates an immediate visual break from cylindrical formats; a tapered cone shape with a weighted base feels substantial and gives a slanted wall that suits gradient coatings; a curved-teat dropper bottle adds an unusual silhouette built around an angled grip; and a square thick-wall body reads as solid and premium in the hand. Packaging manufacturers confirm the trade-off with shape, noting that custom shapes require new mold tooling while frosted and colored glass can be applied across most standard formats. Stock shapes also stack and ship more predictably, which matters for retail kits and e-commerce.
The practical move: start from your positioning. If you’re a classic apothecary brand, a round bottle fits; if you’re a clinical or modern brand, square or flat-shoulder suits; if standing out visually is your top priority, a distinctive shape like a spherical, cone, or curved-teat bottle delivers the most shelf impact.
Color — Clear, Amber, Frosted, or Custom
Serum bottle color does two jobs at once: it signals your brand positioning and, in the case of amber or opaque glass, it protects light-sensitive formulas — so the color choice is part aesthetic and part functional. Treating it as only a look misses half of what color decides.
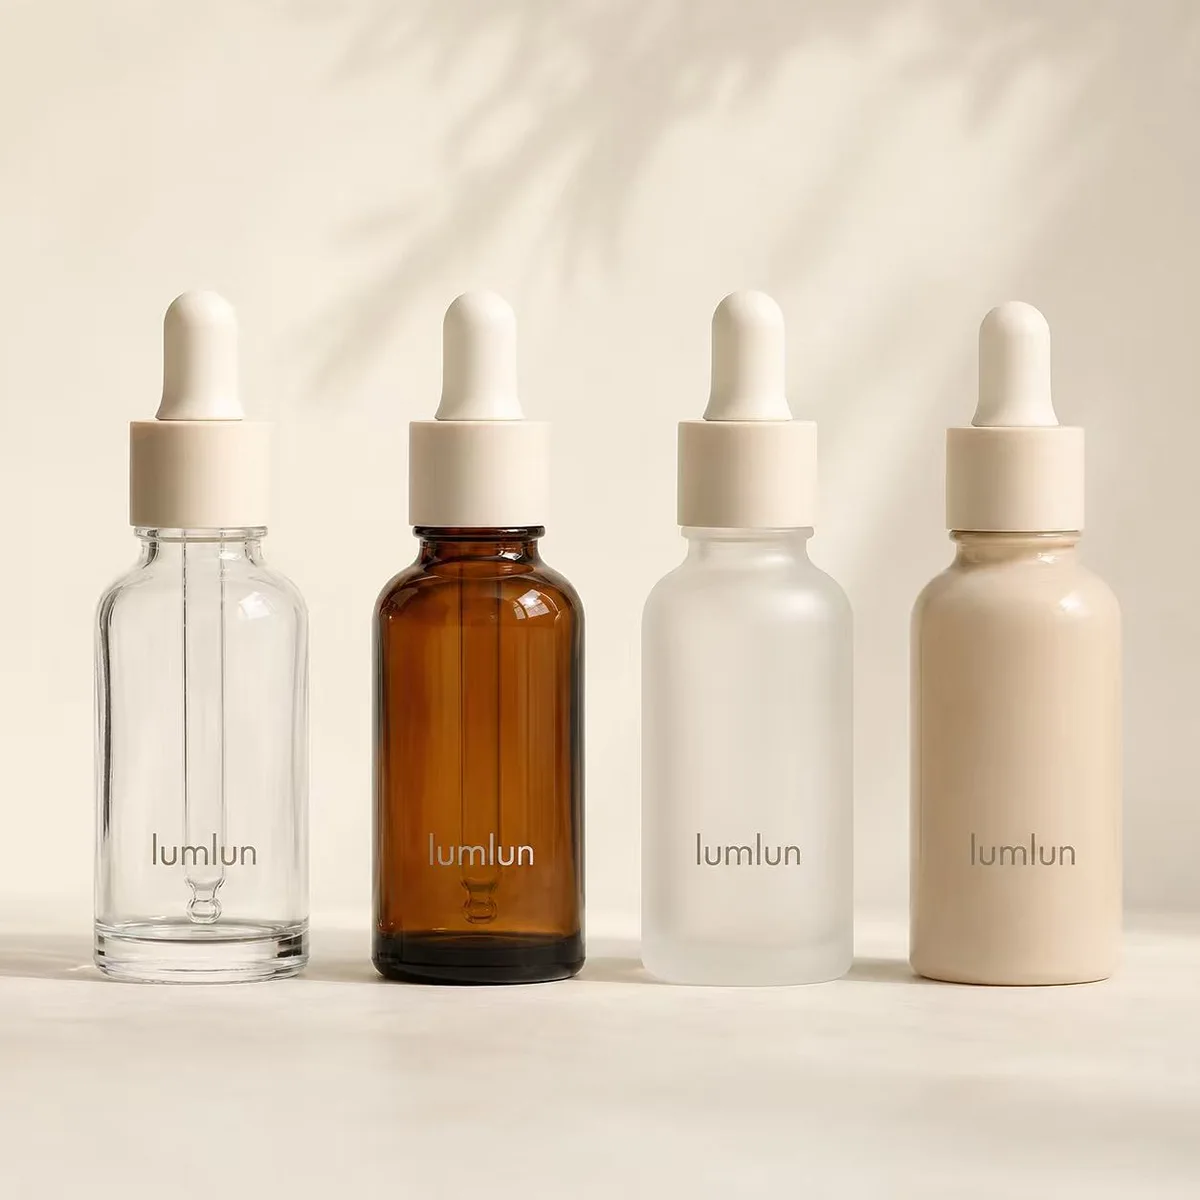
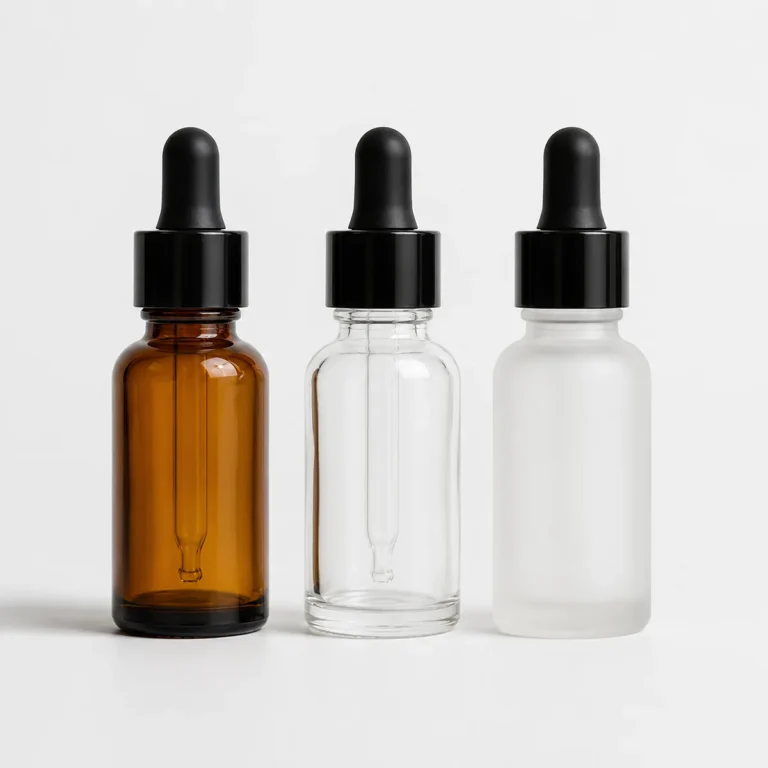
Clear glass shows off the formula and reads clean and transparent, which suits brands that want the serum itself on display — and academic research on cosmetic packaging notes that glass gives a premium, elegant appearance with shelf impact no other material matches. Amber, smoke, and other tinted glass protect light-sensitive actives while carrying an apothecary, ingredient-led impression. Frosted glass — achieved by acid etching or sandblasting — gives a soft, premium, matte appearance that diffuses light and feels high-end. Bold custom colors — any Pantone shade can be matched — make a product pop on the shelf and help differentiate across a product line, where each serum gets its own color code. Because color also affects formula protection, our guide to amber vs clear glass dropper bottles goes deeper on protecting light-sensitive serums.
The honest way to choose: let the formula set the floor and the brand set the rest. If your serum is light-sensitive, start from amber or opaque options for protection, then express the brand through finish and decoration. If it’s stable, color is a freer aesthetic and differentiation choice.
Have a brand look in mind but not sure how to spec it? Tell us your positioning and formula, and we’ll recommend a shape, color, and finish combination — with free samples to see it in hand before you commit.
Finish and Decoration — Where Your Brand Becomes Visible
The finish and decoration on a custom serum bottle are where your logo and brand identity become visible, and LumLun offers eight techniques — silk-screen printing, hot stamping, matte finish, glossy finish, spray color, gradient color, metallization, and hydrographic printing — each suited to a different look and price tier. This is the layer customers read most directly as “quality,” so it’s worth matching to your positioning.
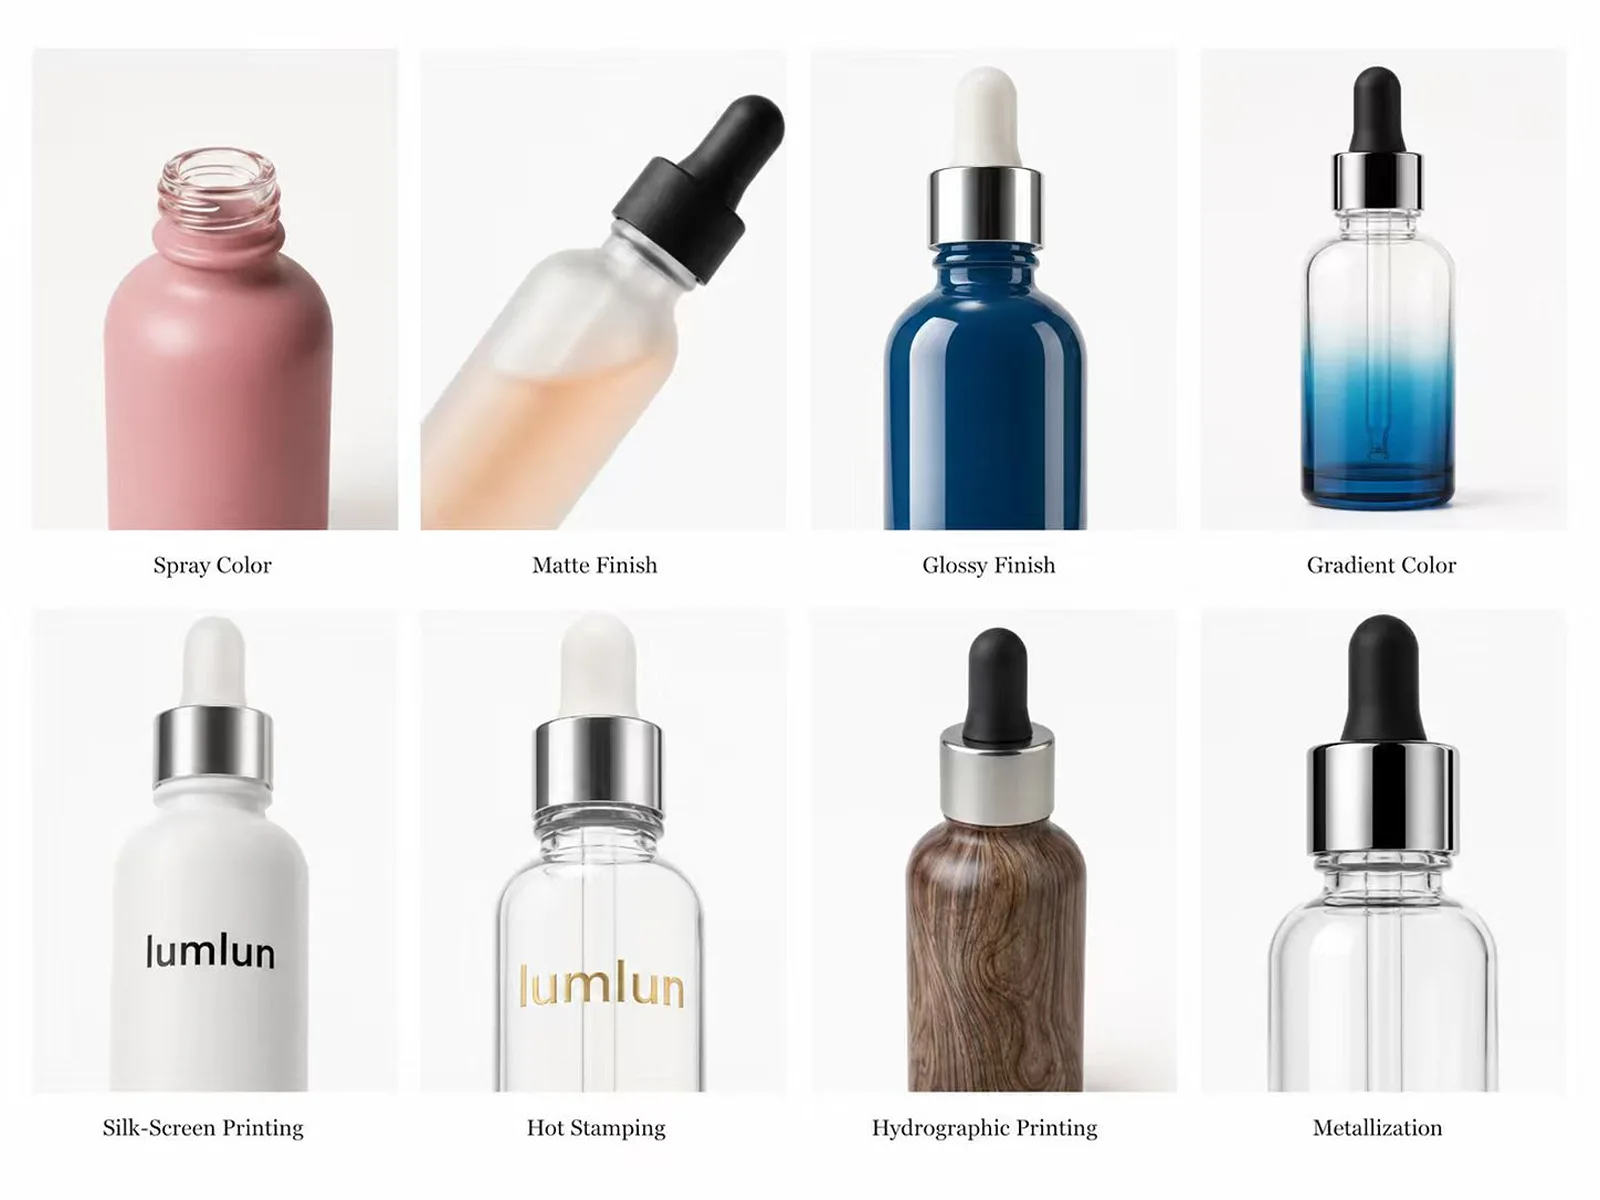
| Finish technique | Effect | Often used for |
|---|---|---|
| Silk-screen printing | Crisp, durable logo and text printed directly on the bottle | Clean branding, everyday to premium |
| Hot stamping | Metallic gold, silver, or foil accents | Luxury, premium lines |
| Matte finish | Soft, non-reflective surface | Refined, understated brands |
| Glossy finish | Smooth, high-shine surface | Bold, vibrant, modern looks |
| Spray color | Solid custom Pantone color across the bottle | Brand-color matching, product-line coding |
| Gradient color | Color that transitions from base to neck | Distinctive, eye-catching shelf presence |
| Metallization | Reflective metallic coating on the surface or components | High-end, statement packaging |
| Hydrographic printing | Patterned print that wraps the whole surface | Unique textures and patterns |
None of these is universally better — they fit different brand tiers and budgets. A clean silk-screened logo serves an everyday serum well; hot stamping and metallization suit a premium line where the bottle needs to feel special in the hand; gradient and spray color help a product stand out and code a product line. Industry decoration guides describe the same toolkit, noting that contrasting color and finish choices, like white silk-screened text on black glass, make a logo more eye-catching.
Dispenser — Customizing How the Serum Comes Out
The dispenser on a custom serum bottle — dropper, pump, or airless — is a customization choice driven by your formula and how you want customers to use the product. It affects both the experience and the protection of the serum, so it’s chosen alongside the look, not after it.
For serums, the dropper is the most common dispenser, and it comes in more than one style. The standard squeeze-bulb dropper suits thinner, water-based serums where drop-by-drop dosing and a classic ritual feel matter. A push-button dropper lets the user dispense with one hand for a cleaner, more modern experience, while a twist-press dropper adds a secure, controlled action. The teat itself is typically silicone or nitrile rubber and can be color-matched to your brand. A pump suits everyday serums needing quick dosing, and an airless pump suits high-concentration, oxidation-sensitive formulas like vitamin C and retinol. The dispenser also has to match the bottle’s neck finish, so it’s confirmed together with the bottle. For a fuller breakdown, see our dropper bottle guide and airless bottle range.
The practical rule: let the formula choose the dispenser, then customize its look to match the bottle. The dispenser is where function leads and aesthetics follow.
Putting It Together — Combining Elements for a Coherent Brand Look
Real differentiation comes from combining shape, color, finish, and dispenser into one coherent look — not from any single custom feature on its own. This is the step most brands underuse, and it’s where a custom serum bottle goes from “nice” to genuinely distinctive.
The elements work together. A black square bottle with white silk-screened text and a matte finish reads as modern and clinical. A spherical bottle with gold hot stamping and a color-matched teat reads as warm and distinctive. A tapered cone bottle with a gradient coating and a metallized cap reads as fresh and premium. The point is that each choice should reinforce the same brand message rather than pull in different directions — a luxury shape undercut by a cheap-looking finish sends a mixed signal. Aligning the elements also builds a recognizable system across a product line, so every product looks like part of the same family.
The way to get this right: decide your brand’s one-line positioning first, then choose each element to support it. When shape, color, finish, and dispenser all say the same thing, the bottle communicates your brand clearly and instantly — which is exactly what helps it sell.
The Real Costs of Customization — Molds, MOQ, and Lead Time
Customizing a serum bottle carries real costs to plan for: a custom shape needs new mold tooling, customization comes with a minimum order quantity, and added decoration extends lead time. Knowing these upfront keeps a customization plan from surprising your budget or your launch date.
The biggest cost driver for a custom serum bottle is whether you need a custom mold. Customizing within standard shapes — choosing color, finish, printing, and dispenser on an existing bottle mold — is the most cost-effective path and keeps timelines shorter. A fully bespoke shape requires new tooling, which adds upfront cost and time, so it’s worth reserving for when a unique shape is central to your brand. Customization also comes with a minimum order quantity; at LumLun, glass bottles carry an MOQ of 5,000 units and plastic (PET, PETG) bottles 10,000. And added decoration steps extend production: sampling typically takes 12–15 working days and bulk production 30–40 days, so a custom project should start well before your planned launch. Request a sample of your full customized spec before bulk production to confirm the colors, finish, and dispenser all come together as intended.
The honest guidance: customize within standard shapes for the best cost and speed, and reserve custom molds for when a unique shape truly defines your brand. That way you get distinctive packaging without paying for tooling you don’t need.
Frequently Asked Questions
What can be customized on a serum bottle?
Almost every element can be customized: the shape (round, square, flat-shoulder, or bespoke), the color (clear, amber, frosted, or custom coatings), the finish and decoration (silk screen printing, hot stamping, frosting, electroplating), the size, and the dispenser (dropper, pump, or airless). The goal is to combine these into one coherent look that signals your brand and suits your formula, rather than customizing everything at once.
Does a custom serum bottle shape require a mold?
A fully bespoke shape outside standard molds requires new mold tooling, which adds upfront cost and lengthens lead time. Customizing within a standard shape — choosing color, finish, printing, and dispenser on an existing bottle — does not require a new mold and is the most cost-effective route. Reserve custom molds for when a unique shape is central to your brand identity rather than a minor preference.
What finish makes a serum bottle look premium?
Frosting and hot stamping are the finishes most associated with a premium look. Frosting gives a soft matte surface that feels refined and high-end, while hot stamping adds metallic gold or silver accents that signal luxury. Silk screen printing gives a clean, durable logo suited to everyday-to-premium lines. The right finish depends on your brand tier and budget, and is best confirmed with a physical sample.
How do I make my serum bottle stand out from competitors?
Differentiation comes from combining elements deliberately, not from one feature alone. Start with your brand’s positioning, then choose a shape, color, finish, and dispenser that all reinforce the same message. A distinctive shape, a considered color, a fitting finish, and a coherent look across your product line together make a serum recognizable and memorable, far more than any single custom touch.
What is the minimum order for custom serum bottles?
Minimum order quantities depend on the supplier and the level of customization. At LumLun, glass bottles carry an MOQ of 5,000 units and plastic (PET, PETG) bottles 10,000. Customizing within standard shapes keeps costs and minimums more manageable, while custom molds typically involve higher commitments. Confirm the MOQ alongside sampling timelines so the full project fits your launch plan.
Ready to customize your serum bottle?
Tell us your brand positioning, formula, and the look you want, and we’ll recommend a shape, color, finish, and dispenser combination — with free samples shipped in 48 hours.