Custom cosmetic paper boxes are usually developed after the Bottle, Jar, Tube, or other Primary Packaging has been confirmed. After the customer selects the final packaging, we give the actual product to the engineer, who designs the Paper Box and creates the corresponding Dieline according to the real product’s actual dimensions, complete structure, and packing method.
Compared with asking the supplier to design only from a set of length, width, and height data provided by the customer, using the actual packaging is more reliable. Because what finally needs to go into the paper box is a complete product, not a capacity number or several manually measured dimensions.
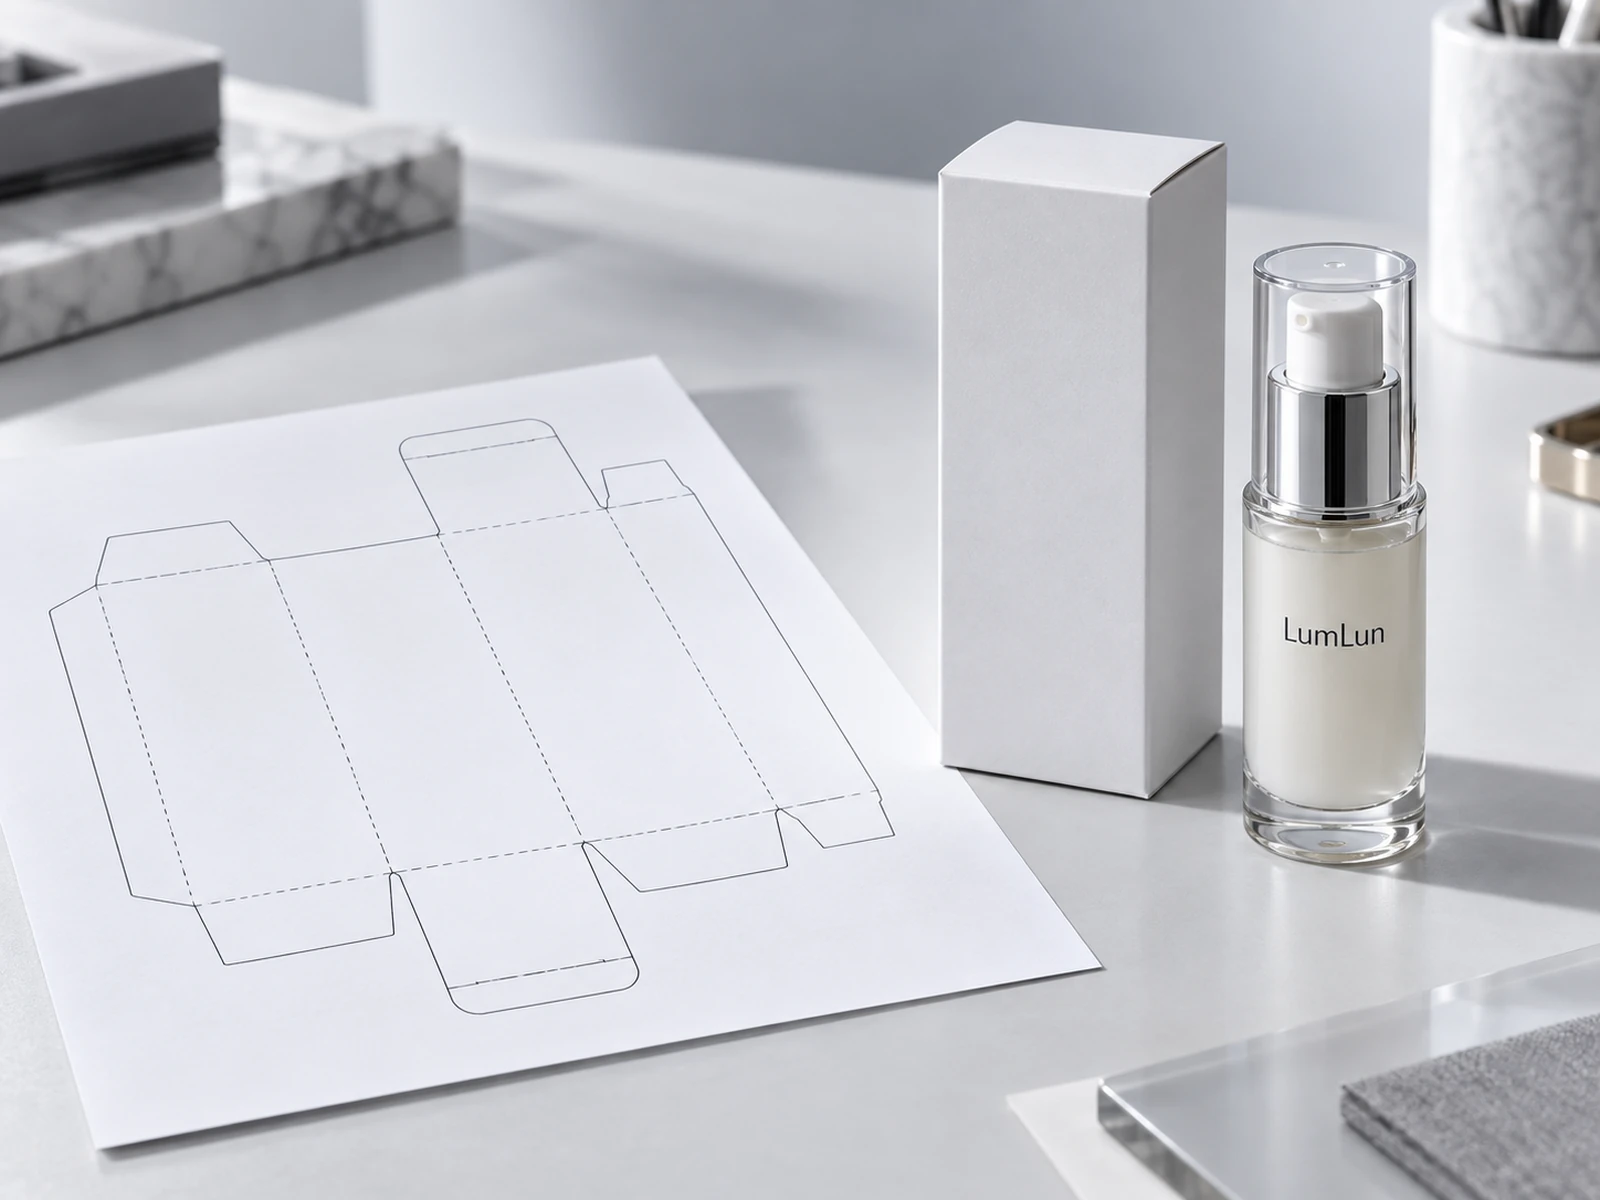
30ml or 50ml Does Not Directly Determine the Paper Box Size
Packaging capacity describes how much product the package can hold; it does not represent its actual external dimensions. The same 30ml Glass Dropper Bottle, Airless Bottle, and Pump Bottle can have completely different heights, widths, and top structures.
Therefore, paper box design usually starts after the specific Bottle, Jar, or Tube model has been confirmed. The engineer measures the final complete product instead of estimating the box size from capacity labels such as “30ml” or “50ml.”
For a Pump Bottle or Dropper Bottle, components such as the Pump, Cap, and Dropper that will eventually go into the box are also part of the measurement. The engineer needs to see the fully assembled product to judge more accurately how much internal space the paper box needs.
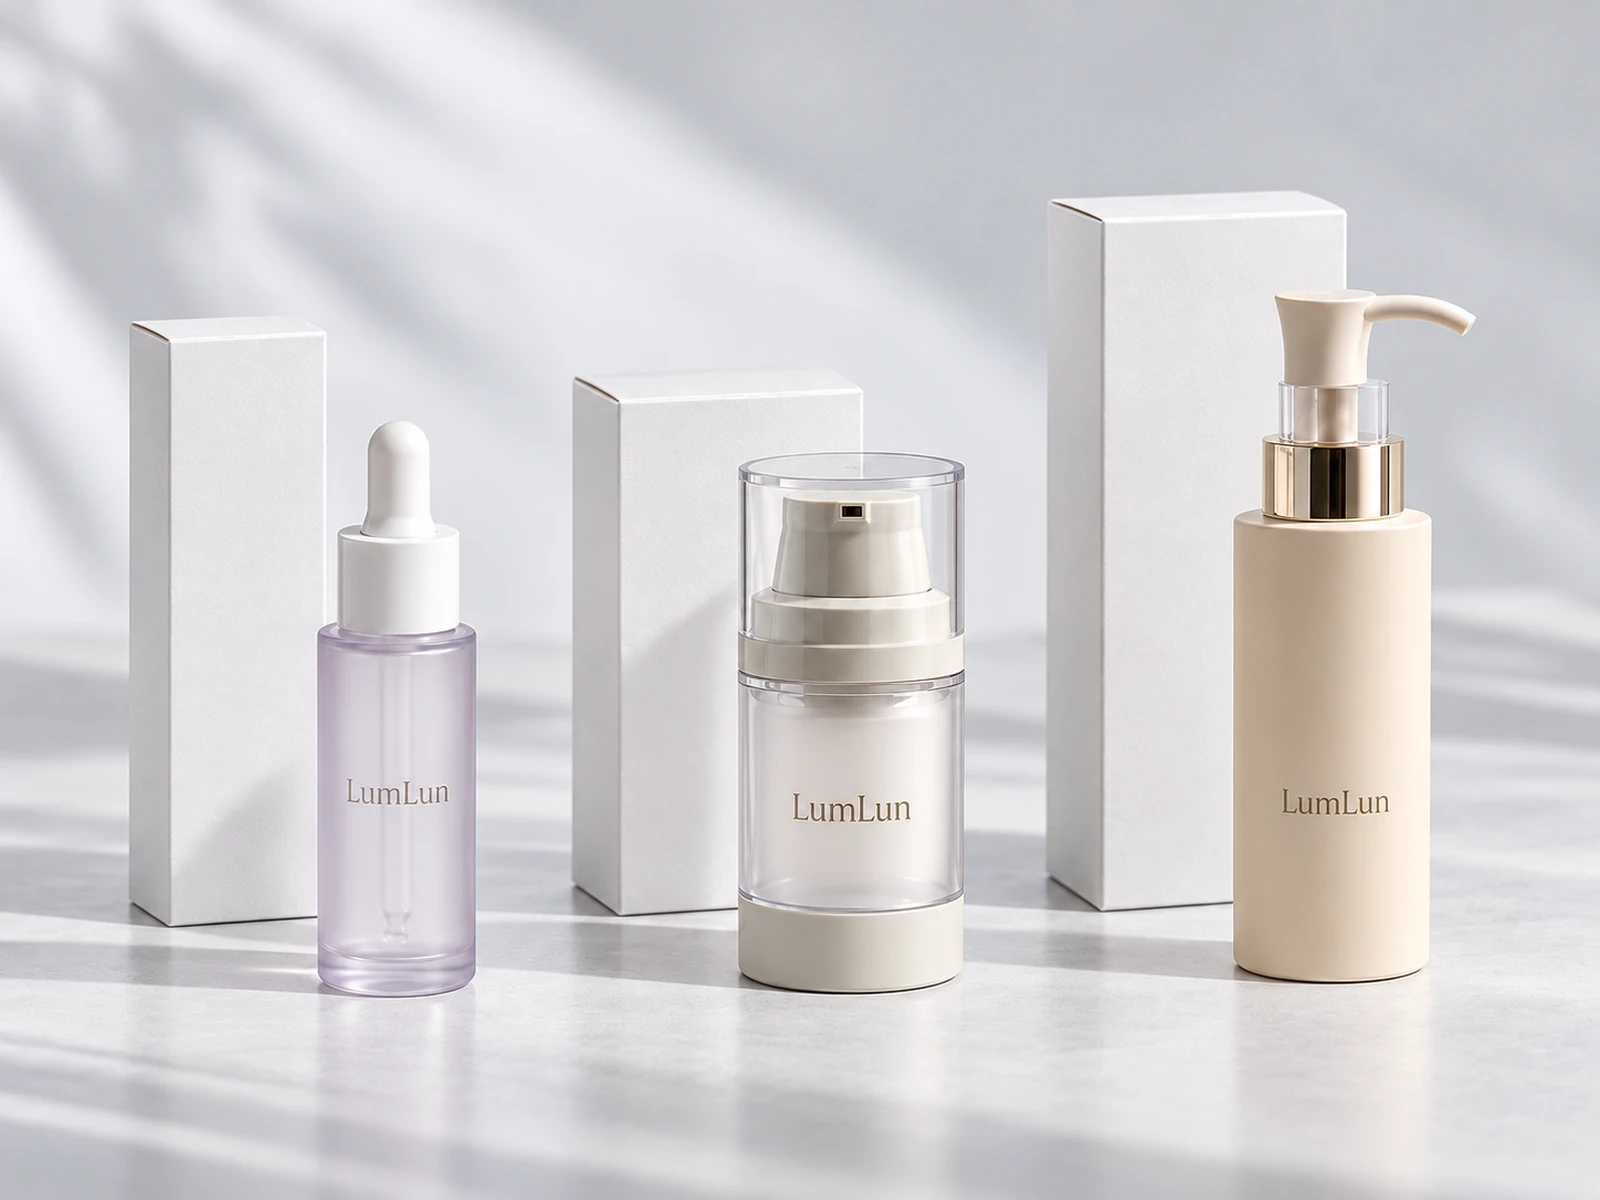
Engineers Create the Paper Box Dieline from the Actual Packaging
After the customer confirms the packaging model, the actual package becomes the basis for the box structure design. The engineer measures the product’s actual height, width, and maximum external dimensions, and designs the internal space of the paper box according to the specific box style.
In general, about 1–2mm of appropriate clearance is left between the product and the paper box so that the product can be inserted and removed normally while avoiding an interior that is too loose. The exact clearance still needs to be judged according to the product shape, material, and paper box structure; the same template is not mechanically applied to every package.
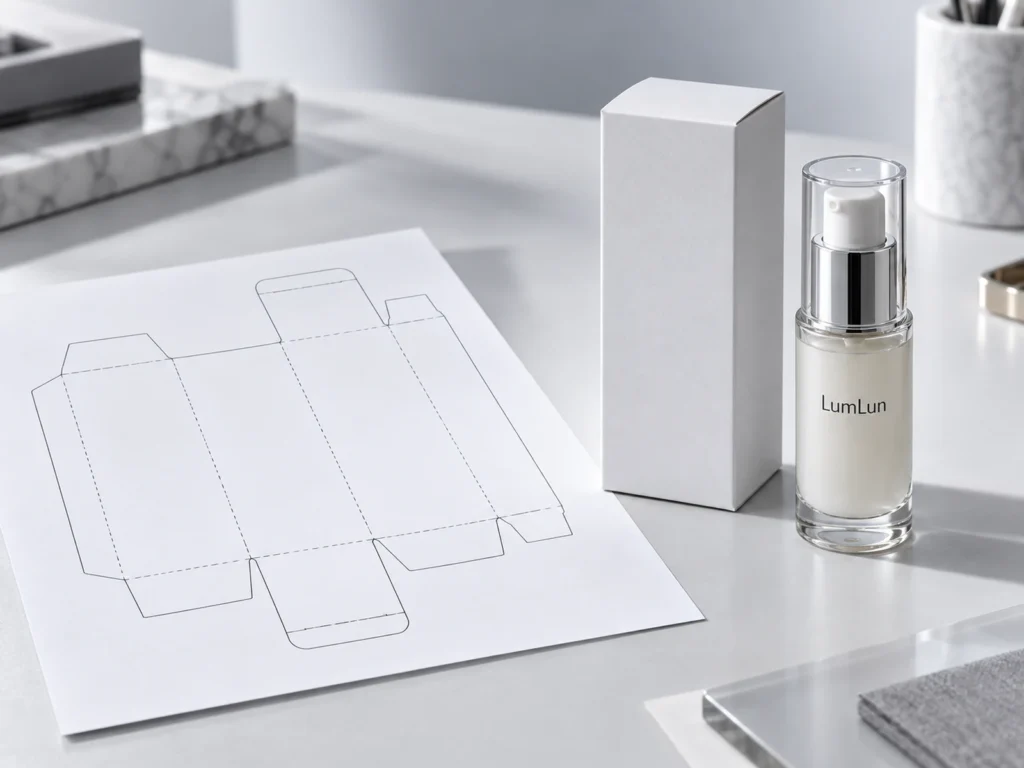
Because the engineer designs directly around the final physical product, this kind of Dieline is usually more accurate than one based only on dimensional data supplied by the customer. The final sample is still used to confirm the actual Fit, but the design itself is already based on the real product rather than an estimate.
View Product →
View Product →
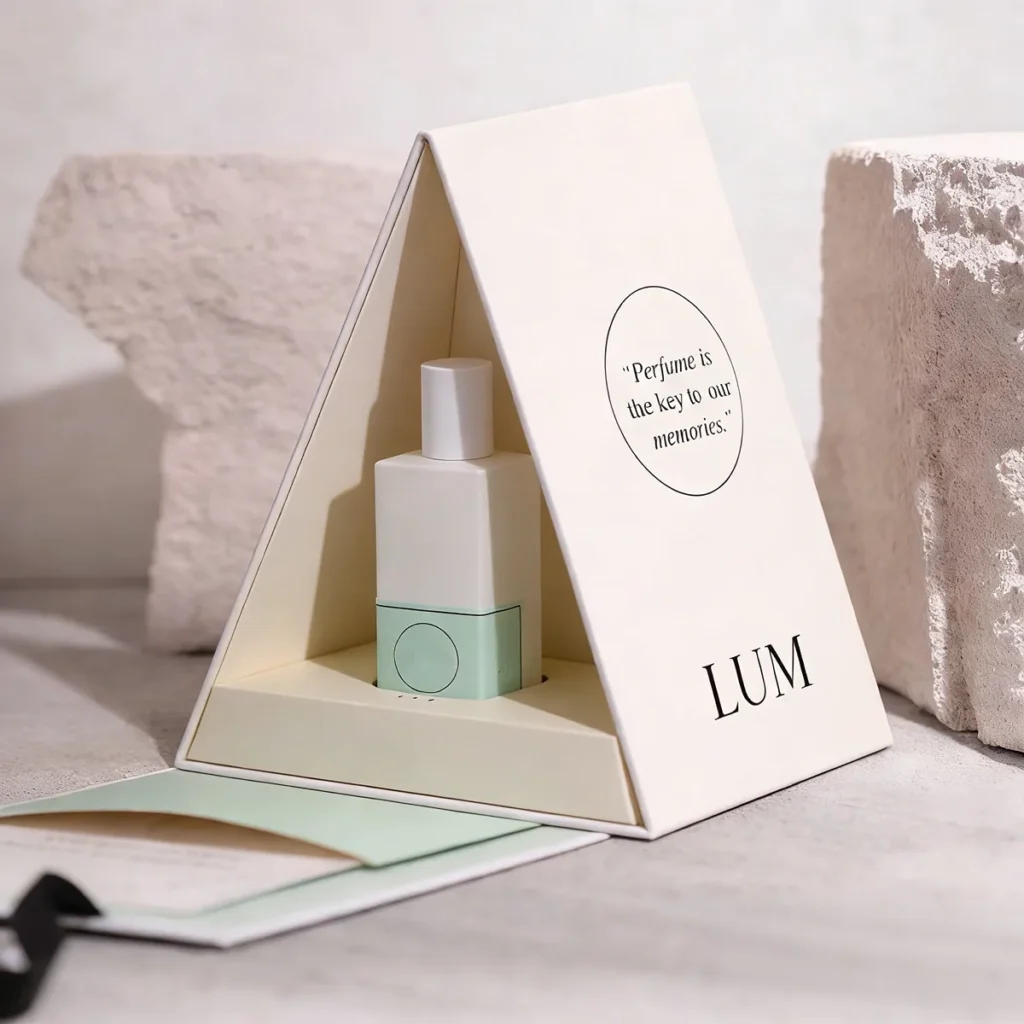
View Product →
Glass Bottles Sometimes Need an Insert or Fixing Base
When the paper box size is appropriate, many ordinary plastic Bottles, Tubes, or Jars do not need an additional complex fixing structure. But Glass Dropper Bottles, Glass Serum Bottles, and other glass packaging need to take into account the risk of breakage caused by impact and movement.
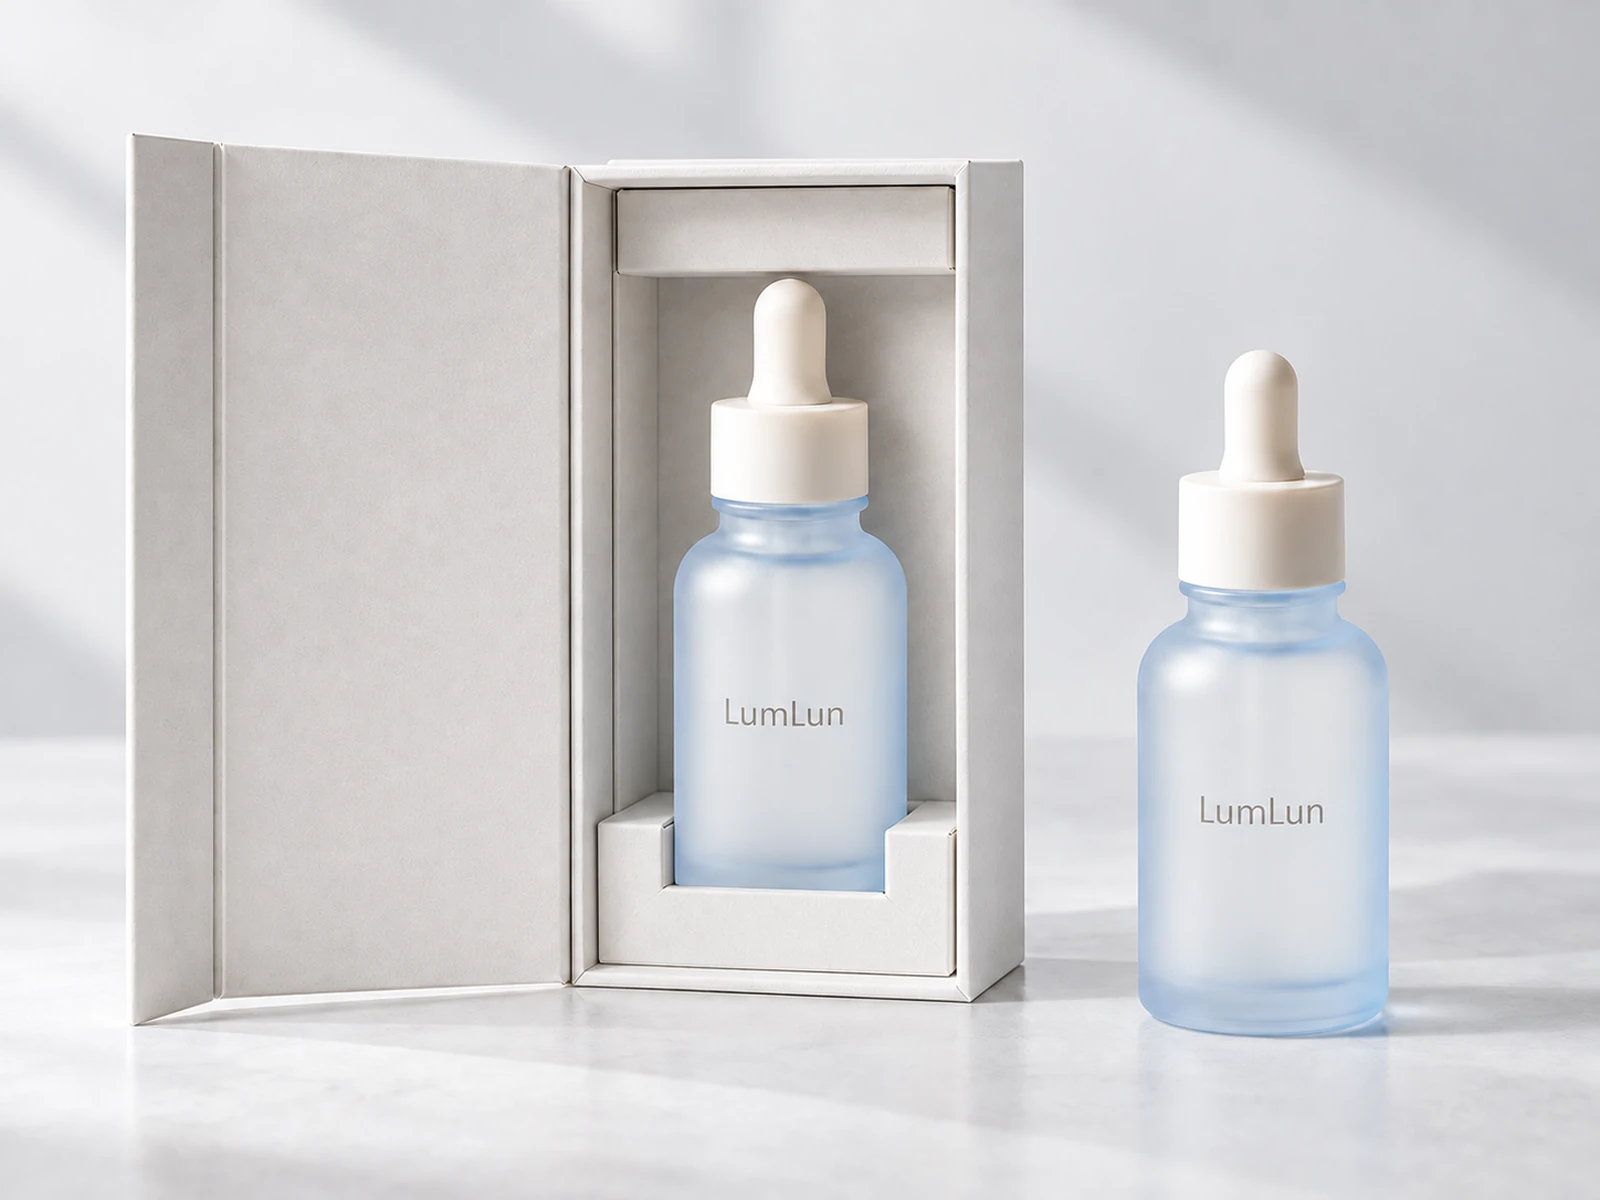
Depending on the customer’s packaging requirements, an Insert, Inner Lining, or fixing Base can be added inside the paper box to keep the glass bottle fixed in place and reduce movement back and forth and collisions during transportation.
These internal structures are also not based on a single standard size. The engineer redraws the structure according to the actual bottle shape, paper box size, and fixing method, so that the lining or base matches the Bottle and Paper Box while still allowing the product to be inserted and removed normally.
After the Dieline Is Completed, the Customer Adds the Artwork
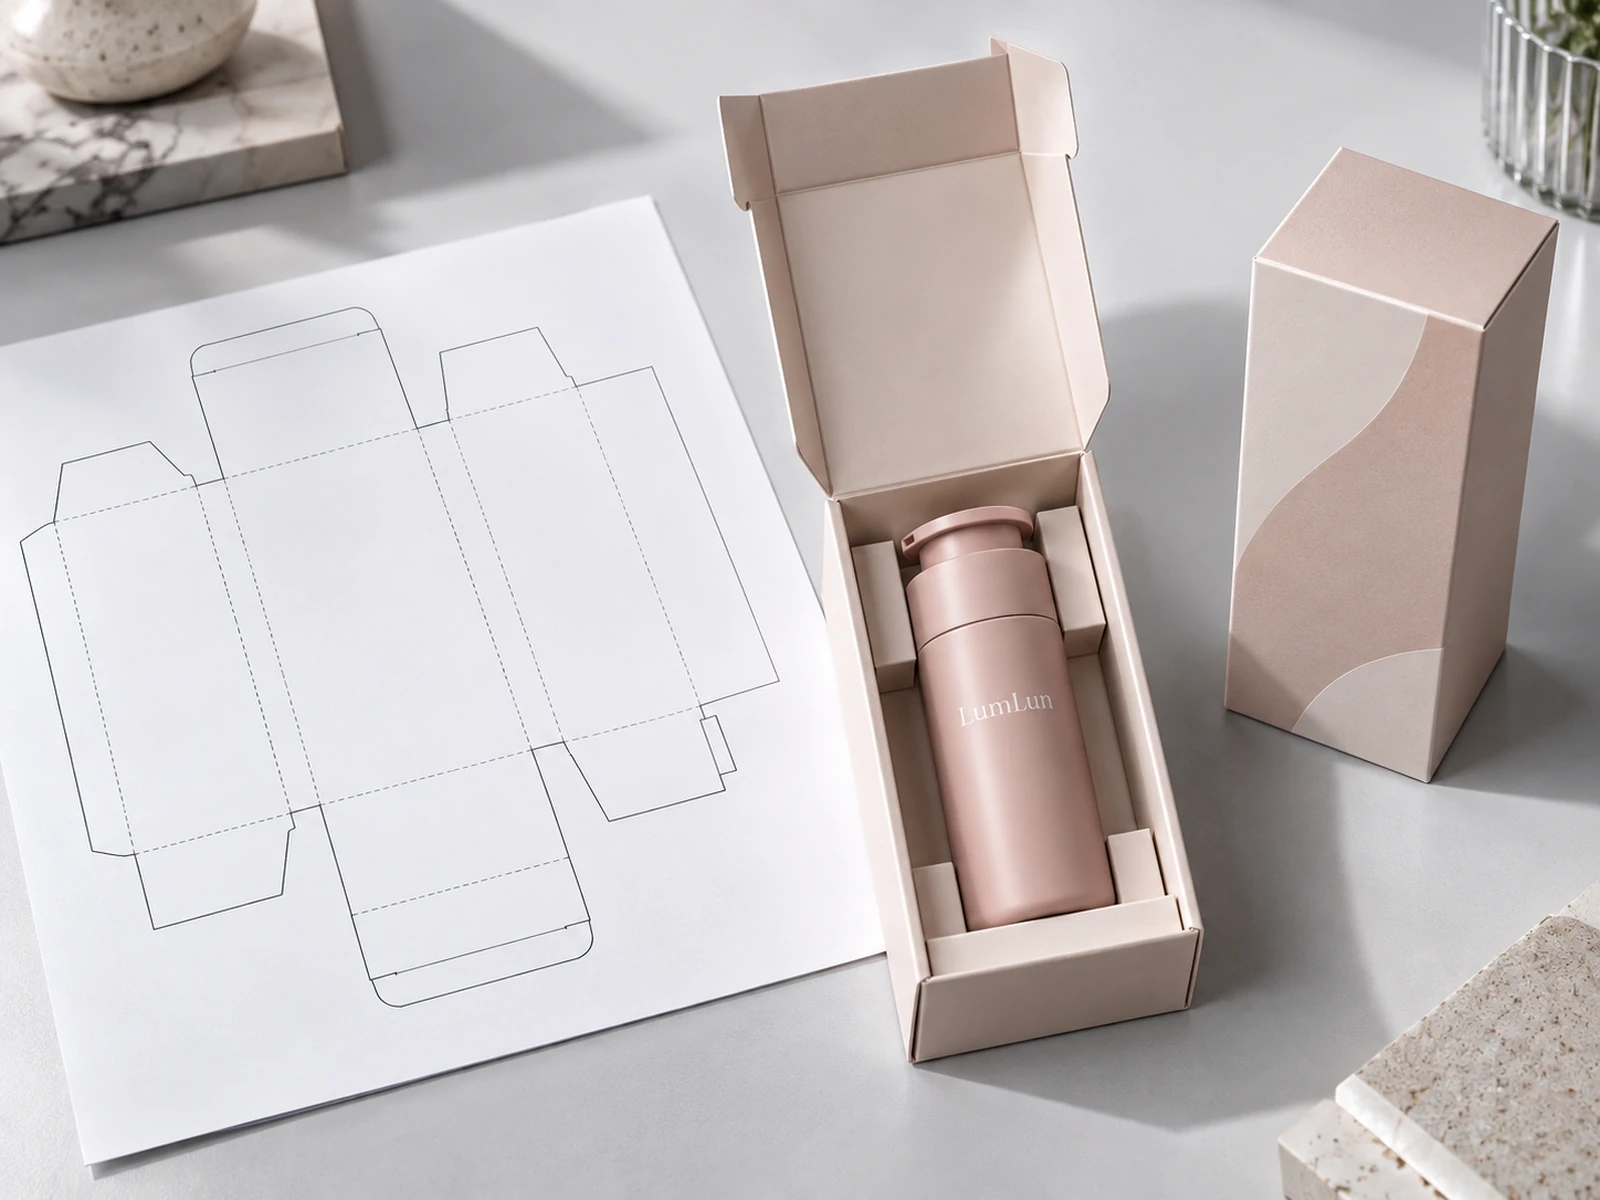
After the paper box structure is confirmed, the engineer creates the Dieline and sends it to the customer. The dieline is the flat unfolded drawing of the paper box and clearly marks the dimensions for the customer. The customer or designer can then complete the Paper Box Artwork according to this Dieline.
This sequence is more convenient and practical. The designer can see more clearly how large the front, sides, top, and other areas of the paper box actually are, all of which ultimately depend on the real box structure and dimensions rather than the initially estimated packaging proportions. Of course, the customer can choose the paper box color first and then make detailed adjustments after the Dieline is completed.
After the Artwork Is Completed, a Real Paper Box Sample Needs to Be Made
After the Dieline and Artwork are confirmed, the next step is usually to make a Paper Box Sample.
After sampling is completed, the customer’s selected Bottle, Jar, or Tube can be placed directly into the box to check whether the product can be inserted and removed smoothly, whether the paper box can close normally, and whether the overall internal space is appropriate.
If the project includes an Insert or fixing Base, this stage can also confirm whether the bottle is properly fixed and whether there is still obvious movement inside the box.
At the same time, the paper box sample also allows the customer to see the printed Artwork position, overall proportions, and opening effect in real life. The Dieline on the computer establishes the structure, while the physical sample provides the final confirmation that this structure is suitable in reality.
Why Is It Not Recommended to Produce Directly from Bottle Dimensions Provided by the Customer?
If the physical product is temporarily unavailable, Bottle Dimensions provided by the customer can of course help with the preliminary discussion, but we generally do not recommend using only these data to determine the final paper box.
The reason is simple: manual measurements can contain errors, and sometimes the dimensions provided by the customer include only the Bottle Body without fully accounting for the Pump, Cap, Dropper, or other protruding components. Even a difference of only a few millimeters can make the actual product too tight inside the box or leave too much internal space.
For products with simple shapes, dimensional data may be easier to assess; but for Pump Bottles, Dropper Bottles, or specially shaped packaging, having the actual product is usually more reliable.
Therefore, dimensions alone are more suitable for preliminary reference. When moving into the final Dieline and Sample stage, if conditions allow, it is still better to confirm everything around the real product.
| Project input | What it supports | How it is confirmed |
|---|---|---|
| Final physical Bottle / Jar / Tube | Final paper box dimensions and Dieline | The engineer designs around the actual assembled package, then checks the Fit with a physical sample. |
| Customer-provided dimensions only | Preliminary discussion and estimation | Whenever possible, reconfirm against the actual package before final production. |
| Glass package requiring extra fixation | Insert, Inner Lining or fixing Base design | Check that the bottle is held properly and does not move obviously in the Paper Box Sample. |
| Dieline + Artwork | Paper Box Sample | Check Fit, normal closing, Artwork position and overall appearance with the actual package. |
If the Final Bottle Changes, the Paper Box Also Needs to Be Reconfirmed
The Dieline is designed around a specific package, so even if the capacity does not change, once the final packaging model changes, the original paper box cannot simply be assumed to remain fully suitable.
For example, even if it is still 30ml, changing the Bottle Model, Pump, Cap, or Dropper can change the complete product’s height or maximum width. The engineer then needs to recheck the actual product and determine whether the original Dieline is still suitable.
Therefore, the Paper Box is best moved into final structural design after the Primary Packaging has been basically confirmed. This can reduce repeated paper box changes caused by changes to the Bottle.
From Selected Packaging to the Final Paper Box, the Actual Process Is Not Complicated
The customer first confirms the final Bottle, Jar, Tube, or other packaging to be used, and then the engineer designs the Paper Box based on the actual product. If it is Glass Packaging that is easy to break, or if the customer wants the product to be more stable inside the box, a suitable Insert or Base can be designed at the same time.
After the structure is confirmed, the engineer creates the Dieline and sends it to the customer. The customer places the Artwork into the dieline for confirmation, and then a Paper Box Sample is made. After the sample is completed, the actual product is placed in the paper box again to check Fit, fixing effect, and overall appearance.
If all these parts are fine, the project can move into subsequent formal production.
Throughout the process, the customer does not need to calculate in advance how many millimeters the paper box should be, nor do they need to decide how much clearance the insert should leave. What matters more is first confirming the Primary Packaging that will actually be used.
For a custom paper box project, the most reliable starting point is usually not:
“This is a 30ml bottle.”
Nor is it only providing:
“The bottle dimensions are 40 × 40 × 110mm.”
Instead, let the engineer directly receive:
The actual product that will finally go into this paper box.
This way, the Dieline, Paper Box, and subsequent Sample are truly built on the actual packaging.