Key Takeaways
- You don’t have to open a custom mold to get a branded airless bottle. Most brands get a strong custom look from color, finish, and printing on an existing bottle, at a fraction of the cost and time.
- Customization comes in three levels: stock, semi-custom, and fully custom. Which one fits depends on your budget, order quantity, how much you need to stand out, and your launch timeline.
- Airless bottles are made to order, and minimums start around 5,000 units for some options. Choosing spray color over molded-in color can lower the minimum, so ask what’s possible for your specific bottle before you budget.
- Custom packaging isn’t a cost, it’s a brand asset. The way your bottle looks on a shelf or a screen directly affects whether customers pick it up, pay a premium, and come back.
- Always sample before bulk. A real sample confirms the color, finish, and fit with your formula before you commit to a full production run.
Last Updated: June 2026
Here’s a scene that plays out constantly. A new skincare brand decides they want a custom airless bottle, picture something unique and unmistakably theirs, and ask a factory to make it. The quote comes back: a custom mold fee in the thousands, a minimum order of 100,000 units, and a timeline measured in months. The dream stalls before it starts. What most brands don’t realize is that they almost never needed a custom mold in the first place. A custom color, a frosted finish, and your logo on a proven bottle can look every bit as branded as a bespoke shape, at a fraction of the cost and time.
This guide walks through how to customize an airless bottle the practical way: the three levels of customization and which one fits you, what you can actually change, how MOQ really works, when a custom mold is genuinely worth it, and how the right choice quietly makes your product sell better. The goal isn’t just a bottle with your name on it. It’s packaging that earns attention on the shelf, supports the price you want to charge, and becomes a brand asset you build on.
First, Decide Which Level of Customization You Actually Need
Custom airless bottles come in three levels (stock, semi-custom, and fully custom), and the right one depends on your budget, order size, how much you need to stand out, and your timeline, not on how “custom” sounds. Most brands assume they need the deepest level when a middle option would serve them better, faster, and cheaper.
Here’s what each level means in practice:
- Stock: you use an existing bottle as-is, branded with a label. Fastest and lowest cost, lowest minimums. Good for testing a product or launching lean.
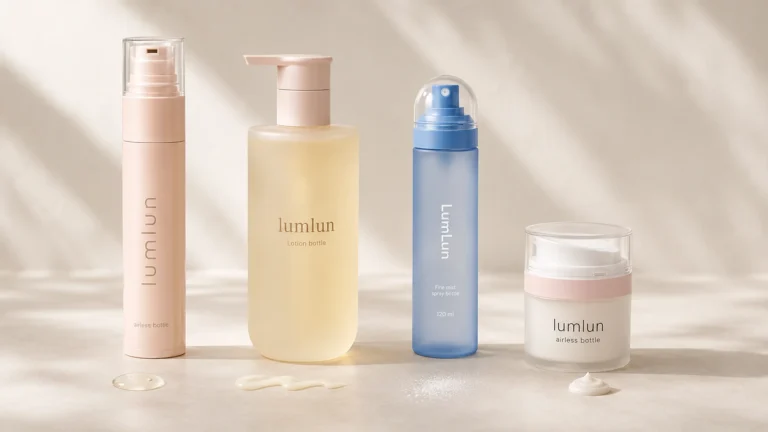
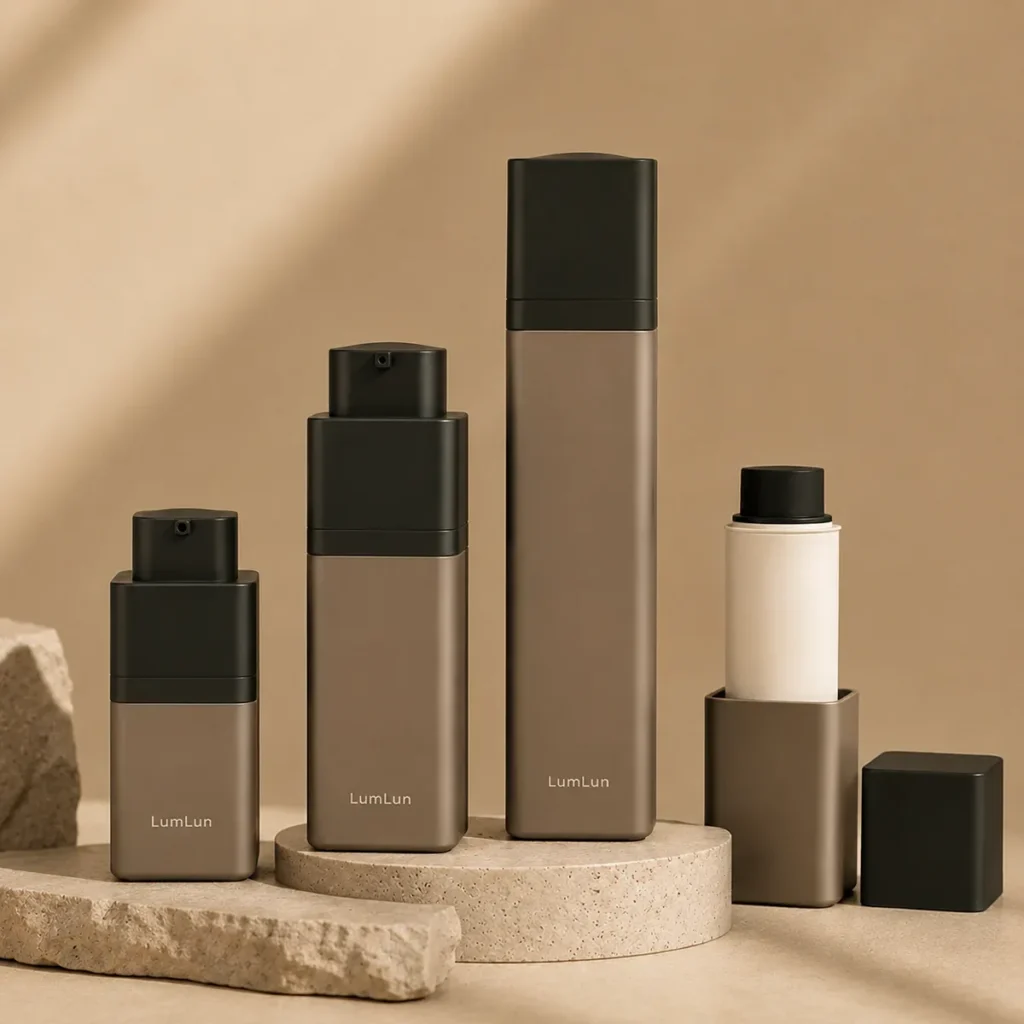
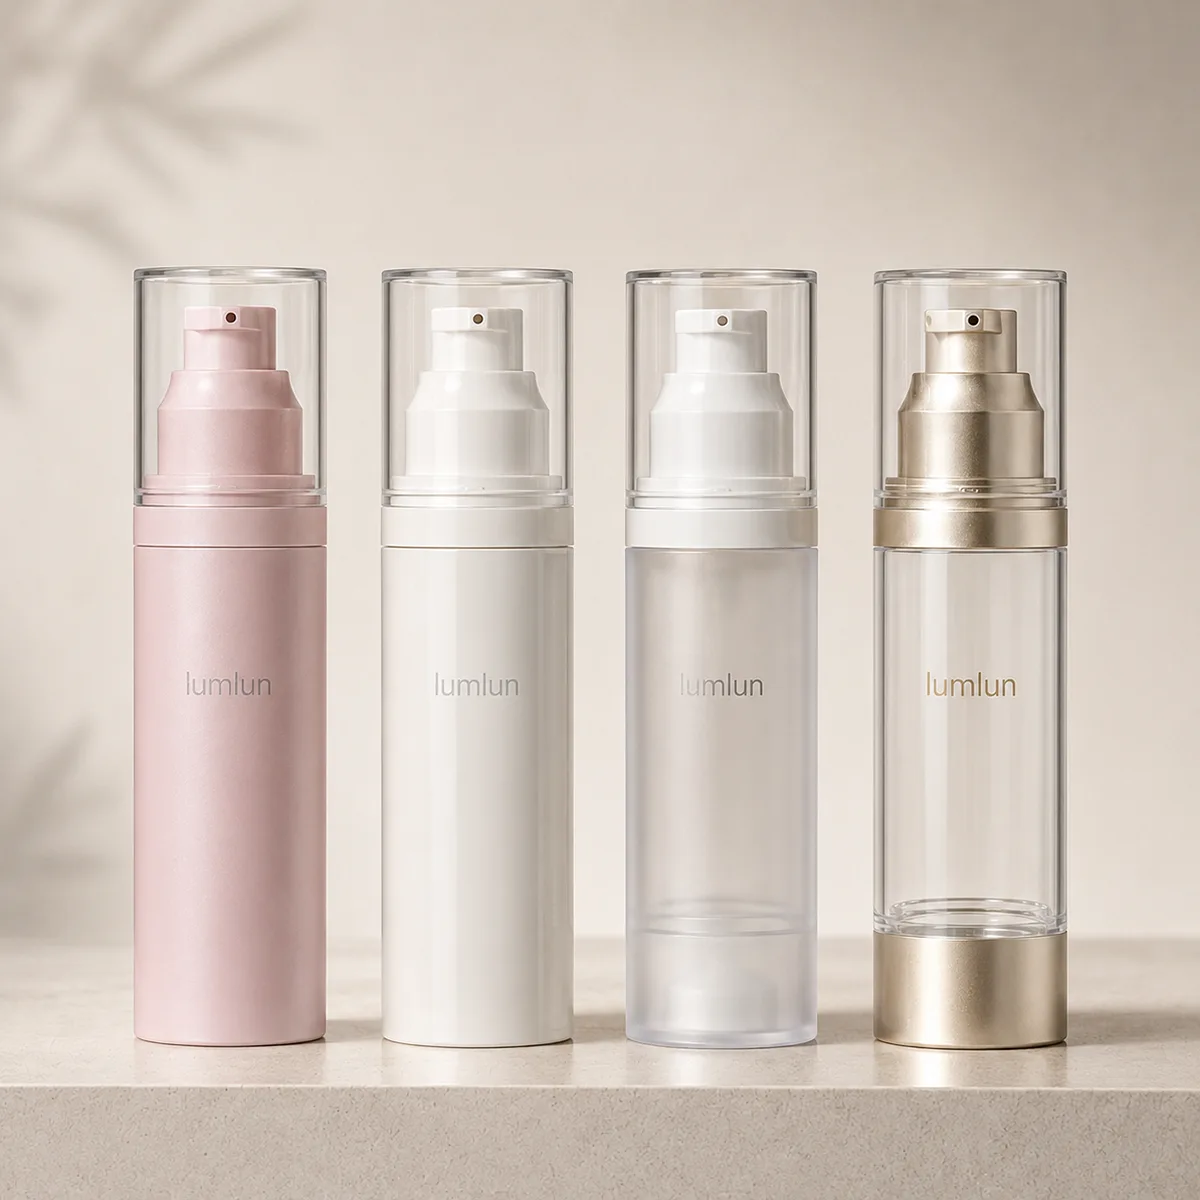
- Semi-custom: you take a proven bottle and make it yours with custom color, finish, printing, and your logo. This is where most brands land: it looks fully branded without the cost and delay of a new mold.
- Fully custom: you develop a unique bottle shape from scratch with a custom mold. Maximum differentiation, but the highest cost, highest minimum, and longest timeline. Makes sense for established brands with volume and a clear long-term line.
To make this concrete, here’s how to match the level to your situation:
| Your situation | Best level | Why |
|---|---|---|
| Testing a product or launching on a tight budget | Stock + label | Lowest cost and MOQ, fastest to market |
| Want a fully branded look without a big upfront investment | Semi-custom | Custom color, finish, and printing make a proven bottle unmistakably yours |
| Established brand, high volume, want a signature shape | Fully custom | A proprietary shape builds long-term brand equity, if you have the volume to justify it |
| Your launch timeline is tight | Stock or semi-custom | A custom mold takes time to develop; semi-custom keeps you branded and on schedule |
The honest takeaway: most growing skincare brands are best served by semi-custom. It delivers a genuinely branded bottle without the capital, minimums, and months a custom mold demands. We’ll come back to exactly when a mold is worth it later in this guide.
What You Can Actually Customize
On a semi-custom airless bottle you can change color, finish, printing, and capacity to make a proven bottle unmistakably yours, and each of these choices does real work for how your product sells, not just how it looks. Here’s what’s on the table and, more importantly, what each one earns you.
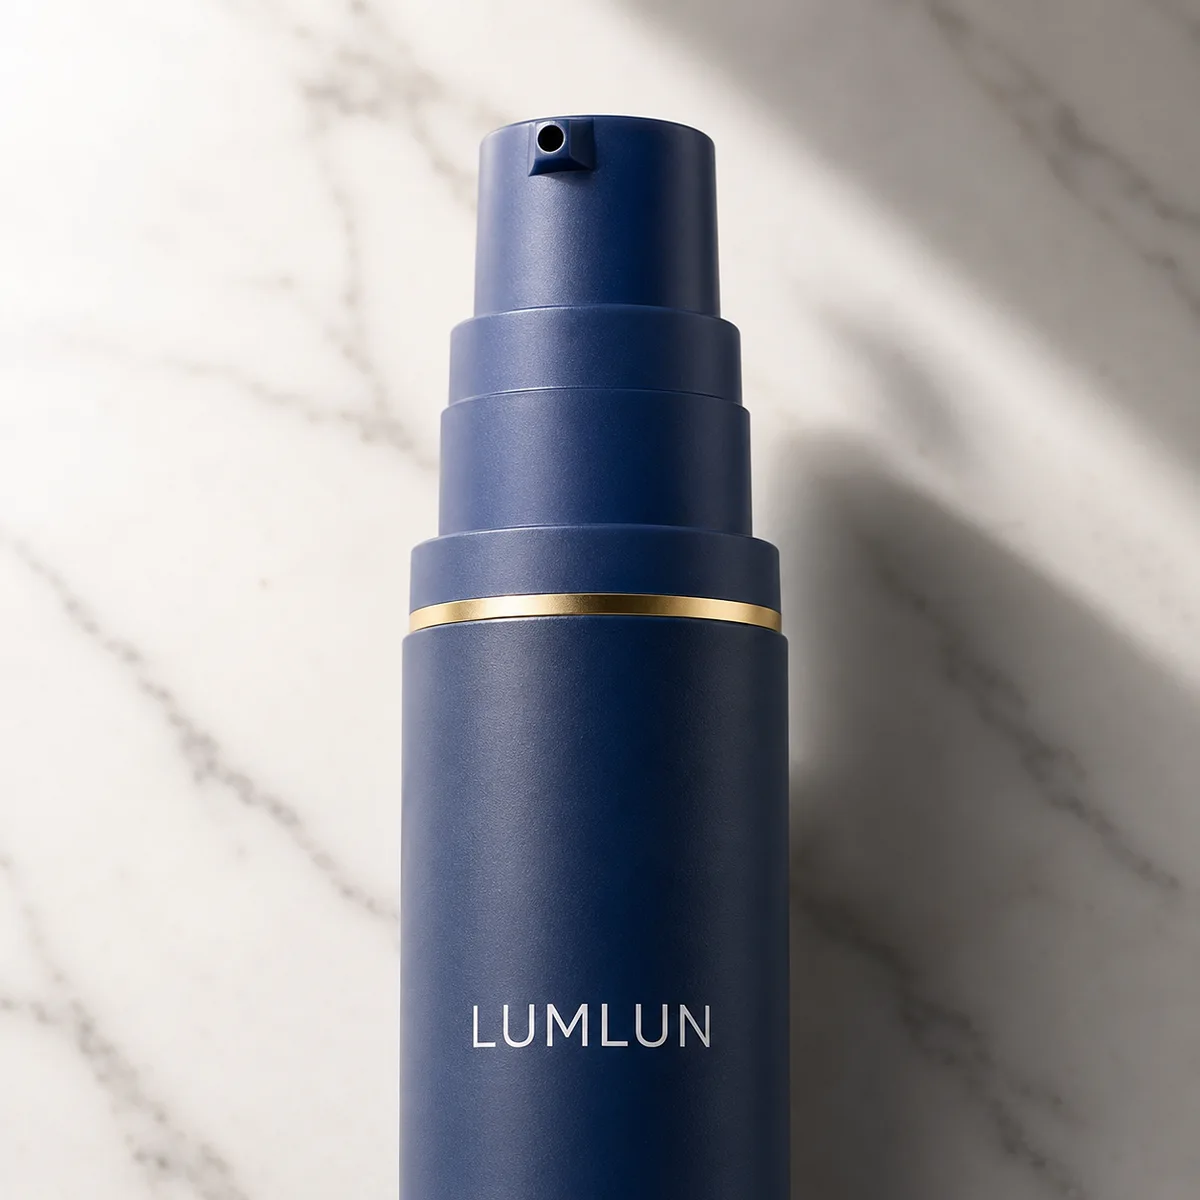
- Color. Custom color matching (to a Pantone reference) lets you carry your exact brand color onto the bottle. This is what makes your products recognizable as a set and helps a customer spot your line at a glance.
- Finish. Matte, glossy, frosted, soft-touch, gradient spray, and metallized effects each give a different feel. Finish is what signals “premium” before a customer reads a word. A soft-touch matte bottle feels more considered, and more expensive, than a plain glossy one.
- Printing and logo. Silk-screen printing and hot stamping put your brand name and logo directly on the bottle. A logo on the bottle itself, not just a label, reads as a more established brand and survives the wear a label can’t.
- Capacity and refillable options. Beyond looks, you can choose the size that fits your product and even a refillable inner-bottle design. A refillable format gives customers a reason to rebuy your refills, turning one sale into a repeat relationship. If sustainability is part of your positioning, you can also add PCR (post-consumer recycled) content on select PP-based options, and if your recycled-content claim needs to hold up to retail review, programs like the APR PCR Certification set the standard for verifying it.
The point isn’t to use every option. It’s to choose the few that carry your brand and justify your price. A focused combination of your brand color, one strong finish, and a clean logo usually looks more premium than a bottle loaded with every technique at once.
Have a brand color or finish in mind? Send us your reference and product type, and we’ll show you what’s possible, with a free sample so you can see and feel it before you commit.
How MOQ Works for Custom Airless Bottles
Airless bottles are made to order, not held in stock, so the minimum order quantity exists to cover the cost of running and cleaning the production machinery, though some options start as low as 5,000 units. Understanding why the minimum exists, and where it can flex, helps you plan a realistic first order for your custom airless bottle.
Here’s the honest picture. Airless bottles aren’t a stock item you pull off a shelf. Each order runs on dedicated machinery, and setting up, running, and cleaning that equipment between production runs carries real cost. The minimum order quantity is what makes a run economically viable. It’s not an arbitrary barrier; it’s tied to how the bottles are actually produced. That’s also why a higher minimum applies to custom color or tooling: more setup means more volume is needed to justify it.
Where the minimum can flex for your first order:
- Some airless bottles start at a 5,000-unit first order. Depending on the bottle, a lower opening quantity is possible, which helps newer brands launch without committing to a huge run.
- Choosing spray color instead of molded-in color can bring the minimum down to 5,000. Molded-in color (where the pigment is mixed into the plastic itself) needs more volume to justify a dedicated material run, while spray color (applied to the surface) can be done at a lower quantity. If you’re flexible on how the color is achieved, you may be able to start smaller.
- Standard custom orders are around 10,000 units, which covers most brands customizing color, finish, and printing on a proven bottle.
The practical move is to tell your supplier your target quantity and ask what’s possible for your specific bottle and color choice. The same product can have different minimums depending on whether you need molded-in or spray color, custom decoration, or any tooling, so ask for the real number against your actual choices rather than assuming one figure applies to everything.
When a Custom Mold Is Actually Worth It
A custom mold is worth it only when your volume is high enough to absorb the tooling cost, your category competes on bottle shape, your design is finalized, and you have the timeline to develop it. Otherwise semi-custom delivers a branded look for far less. Opening a mold too early is one of the most expensive mistakes a young brand can make.
Run your situation against these honest checks. A custom mold starts to make sense when most of these are true:
- Your annual volume is high and ongoing. A custom mold carries a one-time tooling fee on top of the order, and the order minimum is still around 10,000 units. As a rule of thumb, a custom mold makes financial sense when your annual demand is above 100,000 units, the volume that spreads the tooling cost thin enough to be worth it. Below that, the mold cost per bottle stays painfully high.
- Your category sells on shape. If a distinctive silhouette is central to how your brand is recognized, a proprietary shape becomes real equity. If not, color and finish do the branding job.
- Your product and design are locked. A mold is permanent. If you’re still refining the formula, size, or look, lock those down first, since changes after tooling are costly.
- You have the lead time. Mold development adds significant time on top of normal production. If your launch is close, it’s not an option this round.
If most of those aren’t true yet, don’t open a mold. Go semi-custom now, build the brand and the volume, and revisit a custom shape when the numbers genuinely support it. There’s no prestige lost in a beautifully color-matched, well-finished stock bottle, and there’s real risk in sinking launch capital into tooling you don’t yet need.
Why Customizing Your Airless Bottle Actually Pays Off
Custom packaging isn’t a production expense. It’s a brand asset that affects whether customers notice your product, pay a premium for it, and stay loyal. This is the part that’s easy to underrate when you’re focused on cost and MOQ, but it’s the whole reason customization is worth doing.
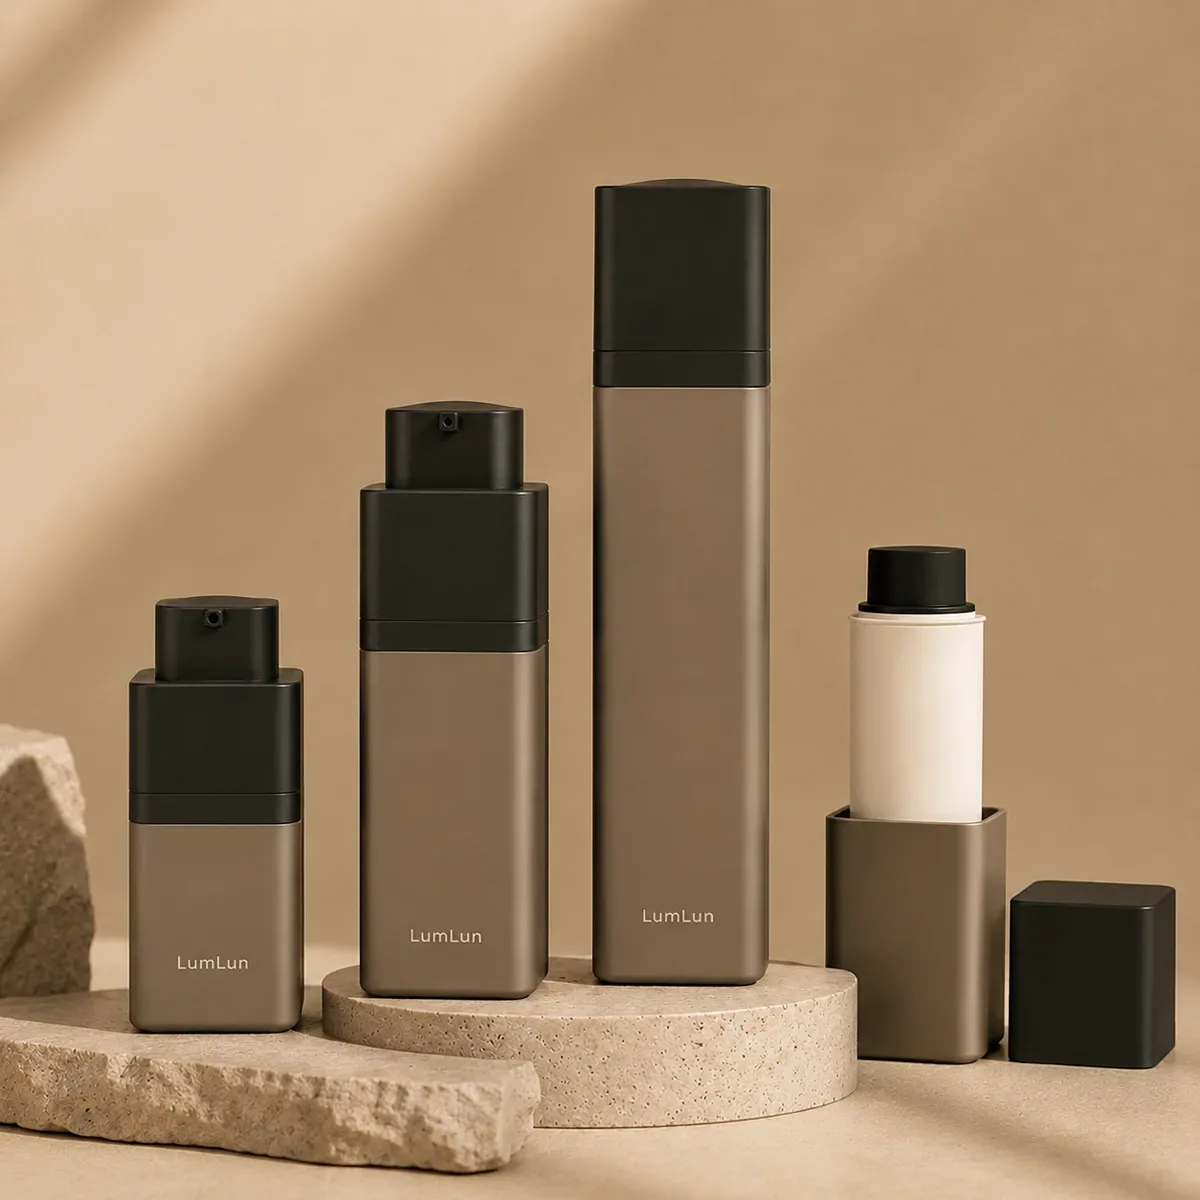
Think about where your product actually gets chosen. On a crowded shelf or a scroll-heavy screen, the bottle is doing the selling before anyone reads your ingredients. Research on consumer behavior has found that a large share of purchase decisions are made right at the point of sale, where packaging is often the deciding factor. That’s the moment your custom bottle earns its cost. Here’s how it pays back:
- It wins the first few seconds. A distinctive color and finish make your product stand out and get picked up, the necessary first step before any sale.
- It supports a higher price. A bottle that looks and feels premium lets customers justify paying more. The same formula in a cheap-looking bottle has to compete on price; in a considered one, it competes on perceived value.
- It builds a recognizable line. When your serum, cream, and lotion share a consistent custom look, customers recognize your brand instantly and are more comfortable buying the next product, turning one purchase into a range.
- It earns free exposure. Packaging that looks good in photos and unboxing videos gets shared, putting your brand in front of new customers at no media cost.
That’s the real reason to customize: not to have a prettier bottle, but to build a brand asset that keeps working (winning attention, supporting margin, and bringing customers back) long after the order is paid for. Seen this way, the spend on a custom airless bottle isn’t a cost to minimize; it’s an investment that should earn its keep.
The Ordering Process and What to Confirm
The custom airless bottle process runs from inquiry to delivery in clear steps: share your product details, get a recommendation and sample, approve the sample, then move to production, with sampling around 12–15 working days and bulk production around 30–40 days. Knowing the flow lets you plan your launch backward from your on-shelf date.
Here’s the typical sequence:
- Share your product details. Tell your supplier your product type, texture, target size, and the look you want. A good supplier asks these before recommending anything.
- Get a recommendation and a free sample. You should be able to see and feel a sample before committing. At LumLun, a B2B OEM cosmetic packaging manufacturer working with skincare brands across 27 countries, samples are free and shipped within 48 hours.
- Run a fill test and approve the sample. Confirm the color, finish, and that the bottle works with your actual formula. Approve from a real sample, never a photo, especially for custom color, which can look different in production.
- Move to production. Sampling typically takes 12–15 working days and bulk production 30–40 days, so start the conversation at least a couple of months before your launch.
One practical note on sourcing confidence: the biggest worry for brands ordering from an overseas manufacturer is reliability. The signals that tell you a supplier is a real partner are simple: fast, clear communication (we reply within 2 hours), free samples you can test before committing, and a team that insists on a fill test rather than rushing you to bulk. A supplier who slows you down to get it right is protecting your launch, not delaying it.
If you haven’t settled on the bottle specs themselves yet (pump output, size, material), our guide on how to choose an airless pump bottle covers that step, and you can browse current airless bottle options to see what’s possible before you customize.
Ready to customize your airless bottle?
Tell us your product, brand color, and the look you’re after, and we’ll recommend the right level of customization and send a free sample within 48 hours. No mold required to get started.
Frequently Asked Questions
Do I need a custom mold to get a branded airless bottle?
No. Most brands get a fully branded look without a custom mold by using semi-custom options: custom color matching, a premium finish, and silk-screen or hot-stamp printing on a proven bottle. This costs far less, has a lower minimum, and ships much faster than developing a mold. A custom mold only makes sense for high-volume brands that compete on a signature bottle shape.
What is the minimum order quantity for custom airless bottles?
Airless bottles are made to order, so the minimum covers the cost of running and cleaning the machinery. Some bottles start at a 5,000-unit first order, and choosing spray color instead of molded-in color can also bring it down to 5,000. Standard custom orders are around 10,000 units. A custom mold needs a tooling fee and is most economical when annual demand exceeds 100,000 units.
How long does it take to produce custom airless bottles?
Sampling typically takes around 12–15 working days, and bulk production around 30–40 days, so plan for roughly two months from approved sample to delivery. A custom mold adds significant time on top of that. To stay on schedule, start the conversation early and build your launch timeline backward from your on-shelf date.
Can I get a sample before placing a custom order?
Yes, and you should. A sample lets you confirm the color, finish, and fit with your actual formula before committing to bulk. At LumLun, samples are free and shipped within 48 hours. Always approve custom color and decoration from a physical sample rather than a photo or digital mockup, since production results can differ from a screen.
Can custom airless bottles use recycled (PCR) material?
Yes, on select options. PCR (post-consumer recycled) content can be added on certain PP-based airless structures, not every material, so confirm with your supplier which options support it for your design. Recycled material can affect color and finish consistency, so approve the look from a real sample before bulk if PCR is part of your sustainability story.